Hello everyone, Katy Norgate here with you today.
It is great to be back with you again, especially to explore and share how I have used Kate Crane's wonderful new stamps and stencils, to make some cards.
Kate's new designs bring together an eclectic mix of nature and magic. We have so much beauty in the natural world, but by bringing a suggestion of the enchanted, Kate is tempting us to use our imagination with these charming designs.
Here is a peek at the cards I made.

Card making has always been my go to, for the many years I have been crafting. Once upon a time, I would use bought papers for backgrounds and create very 'clean' cards. Those days seem to have left me, much to the disgust of the very large pile of paper blocks I still have in my stash!
Don't get me wrong, I still make plenty of cards, but I much prefer getting dirty with paint and inks to make my own backgrounds either using a gel plate; or brayering, spraying, splashing and finger painting onto card stock!
I have to admit to my guilty pleasure of spending far too much time watching videos and sifting through images on popular online platforms, looking for creative ideas. I have recently been motivated by videos made by Suzanne Rose Art making her own washi tapes. Also by our very own Mags Woodcock who recently published an article in the Spring edition of the Stampington Art Journaling magazine, where she very successfully creates art 'on a roll' to make mini journals. Mags also has a complementary how to video . They have very much inspired me to have a go at making my own washi tape. I believe Kate’s new designs prove to lend themselves well to this.
I decided to make ATC style cards, but slightly larger than the rule, so that they fitted nicely onto my 4x6 inch card blanks.

Here are the supplies I have used, both in making the layers on the washi tape, and also for adding texture to the cards.
These include Kate's new release stamps KC12, KC13 and KC14; and stencils PS465, PS466, and PS467. (See PaperArtsy stockists)
PaperArtsy Fresco Finish Chalk Acrylic paints I have used are London bus FF37, zesty zing FF47, limelight FF48, Hyde park FF50, southern skies FF95, jade FF97, cerise FF136, berry nice FF216, lily the pink FF218, bermuda FF224. I was keen to have a varied mix of colours to keep my washi tapes very brightly coloured as well as giving lots of variety and choice; a mix of opacity also helps achieve the layered look. The paint was applied to the gel plate with a brayer
To bring added texture to the washi tape and finished cards I used stamps from Kate's previous releases: KC005, KCM002, KCM014, KCM015 and KCM016. (see PaperArtsy stockists)
I also used some grunge paste for even more dimension.


Time to get the gel plate and paints out. I am using a white gummed paper tape which measures 7.2cm wide. You can get a variety of widths. The gum on the tape is activated with water, when it comes to sticking the pieces later.

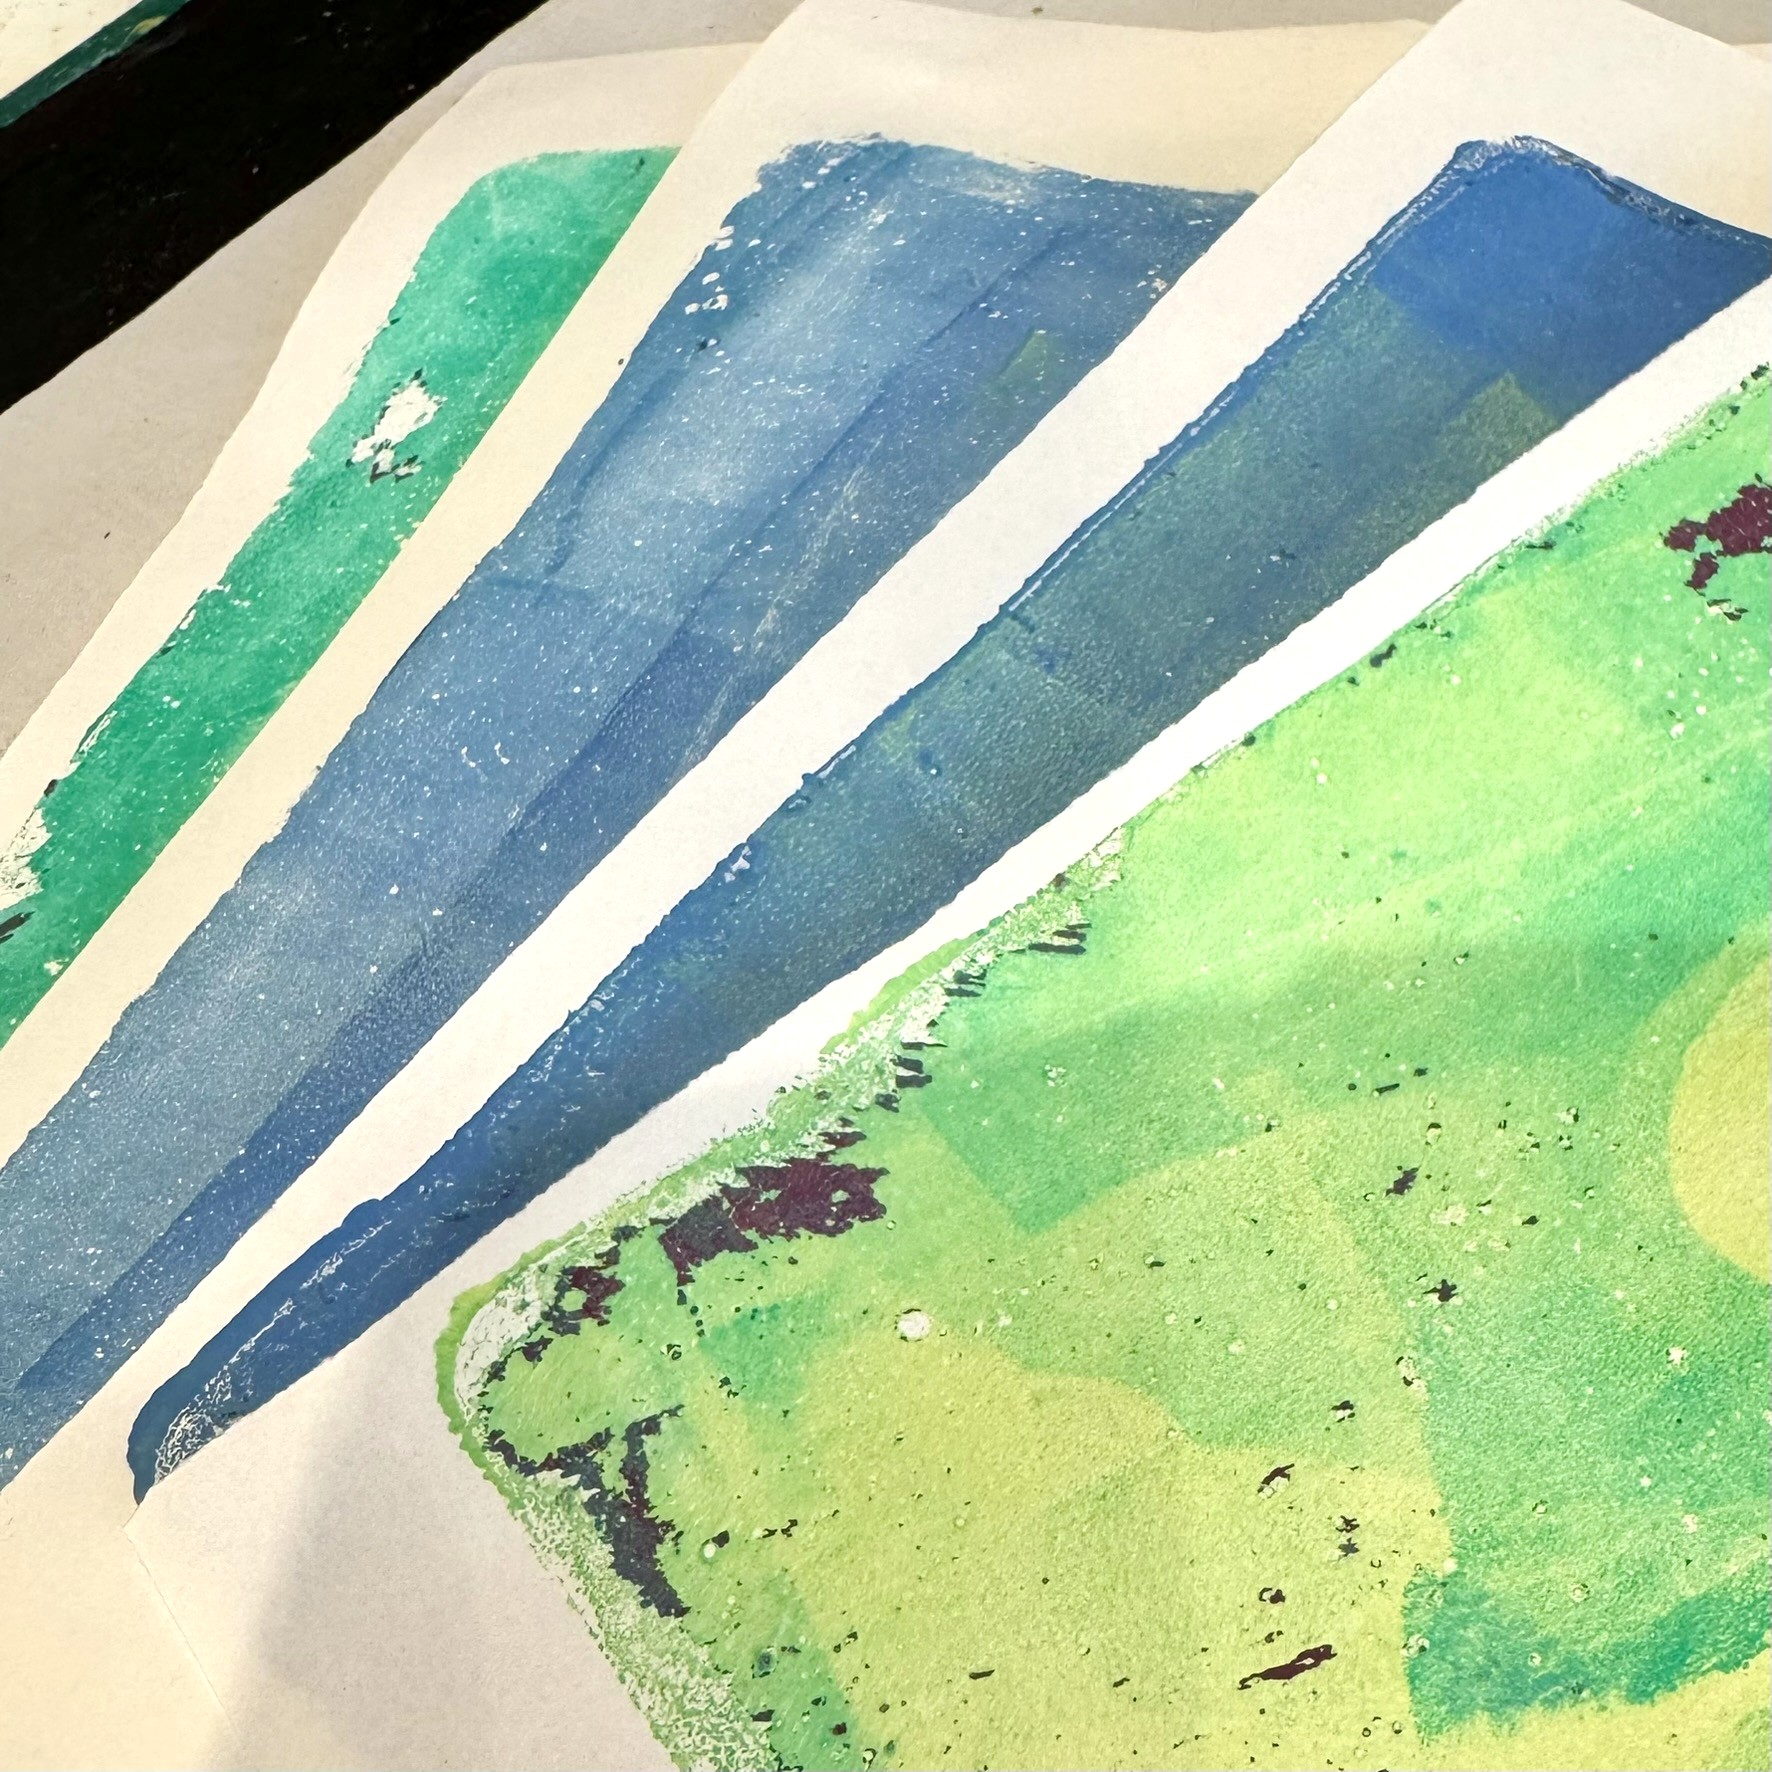
Here I begin by applying paint (london bus, cerise and zesty zing) to the gel plate with a brayer, then using stamps from KC13, and KC14 to lift and move paint around the plate. You can just about see on the image, some of the grungy marks left by the stamps. Be sure to clean your stamps straight away to prevent the paint drying in the finer details of the stamp surface.

Before the paint dries, I laid a piece to the tape to the gel plate to lift the paint. You can just see the grungy images the stamps create.

This technique left quite a bit of 'white space' which you may or may not like. I was hoping for less white, more colour! I was able to fix this with stencilling and stamping over the top as you will see later.


Up next was to add more interest and definition to the tapes using stencils and paint with sponges. The photos below speak for themselves I believe.


In order to fill some of the white spaces and blend the assorted paint colours still further, I used some of Kate's texture stamps along with complementary coloured archival inks


I wrapped them around toilet tissue rolls, as the gummed tape has a tendency to curl up.

This is a messy process, given the various layers of printing, stencilling and stamping, plus you never really know what you are going to get as an end result from your efforts. Some colour combinations here work better than others, but at least I managed not to make mud!! I do get totally absorbed in the process.

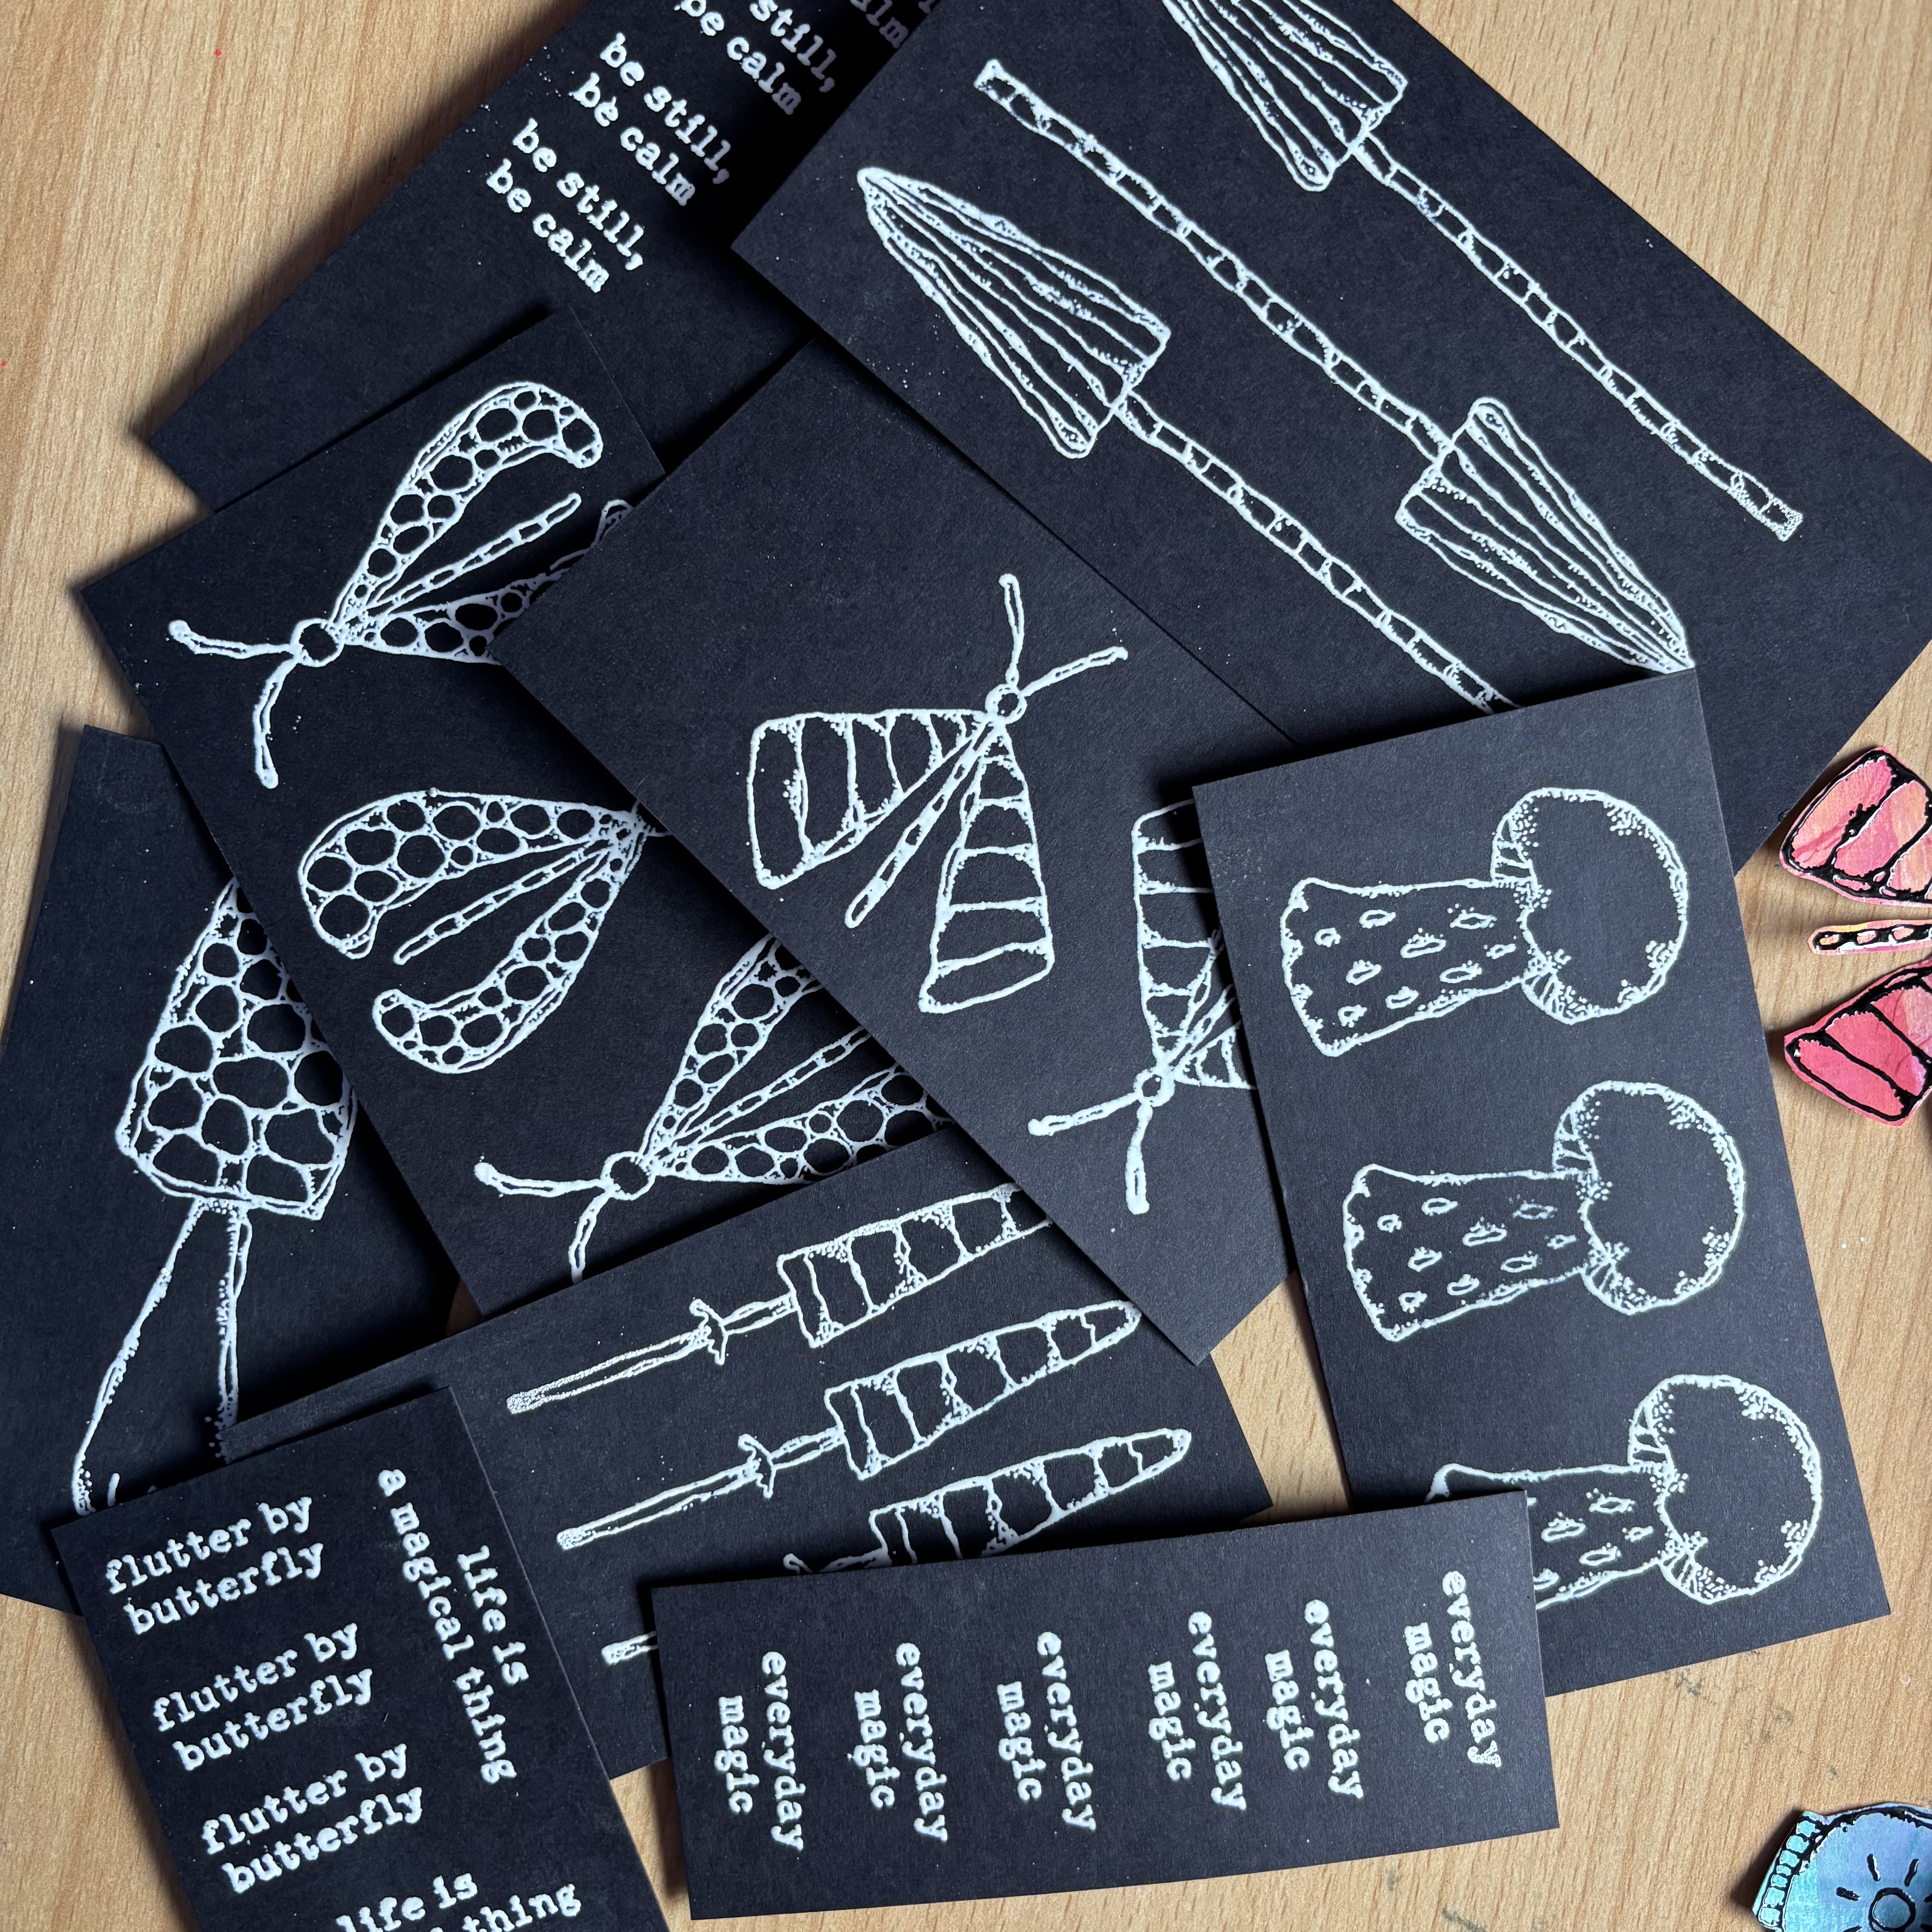
Now it is time to piece different elements together. I begin by stamping images onto the cardstock I have used to clean my brayer during the printing process, I stamped with versafine clair nocturn ink and then used black embossing powder. I have to say I love the effect both of the coloured images and the glossy definition of the embossing! I also stamped onto black card stock with versafine ink and white embossing powder for some contrast images. This was followed by lots of fussy cutting!


To follow is to put the washi tape to use and start collaging onto a fairly heavyweight kraft cardstock. These were cut to measure 5 x 3inch (approx 13 x 7.5cm); I used a paper punch to make rounded corners.
I tore various size pieces of tape, keeping the edges rough and grungy, also overlapping them. I stuck the tape down by wetting the back of the gummed tape with water. It sticks very well, and doesn't like being lifted if you change your mind! I neatened the edges of the cards by cutting off the overhang.


Grunge paste was applied through a stencil on some of the cards for additional dimension, plus I had recently purchased this and wanted to give it a go!.


Then to decide how I wanted to lay out the stamped images to complement the backgrounds. You will see from the finished images, I changed my mind a few times!

Once I was fairly happy with the compositions, I added more inking, paint through stencils and splatters.


How colourful are these pieces? I'm so happy with how they turned out, especially when you see those first few prints, I really doubted myself as to where this was going!
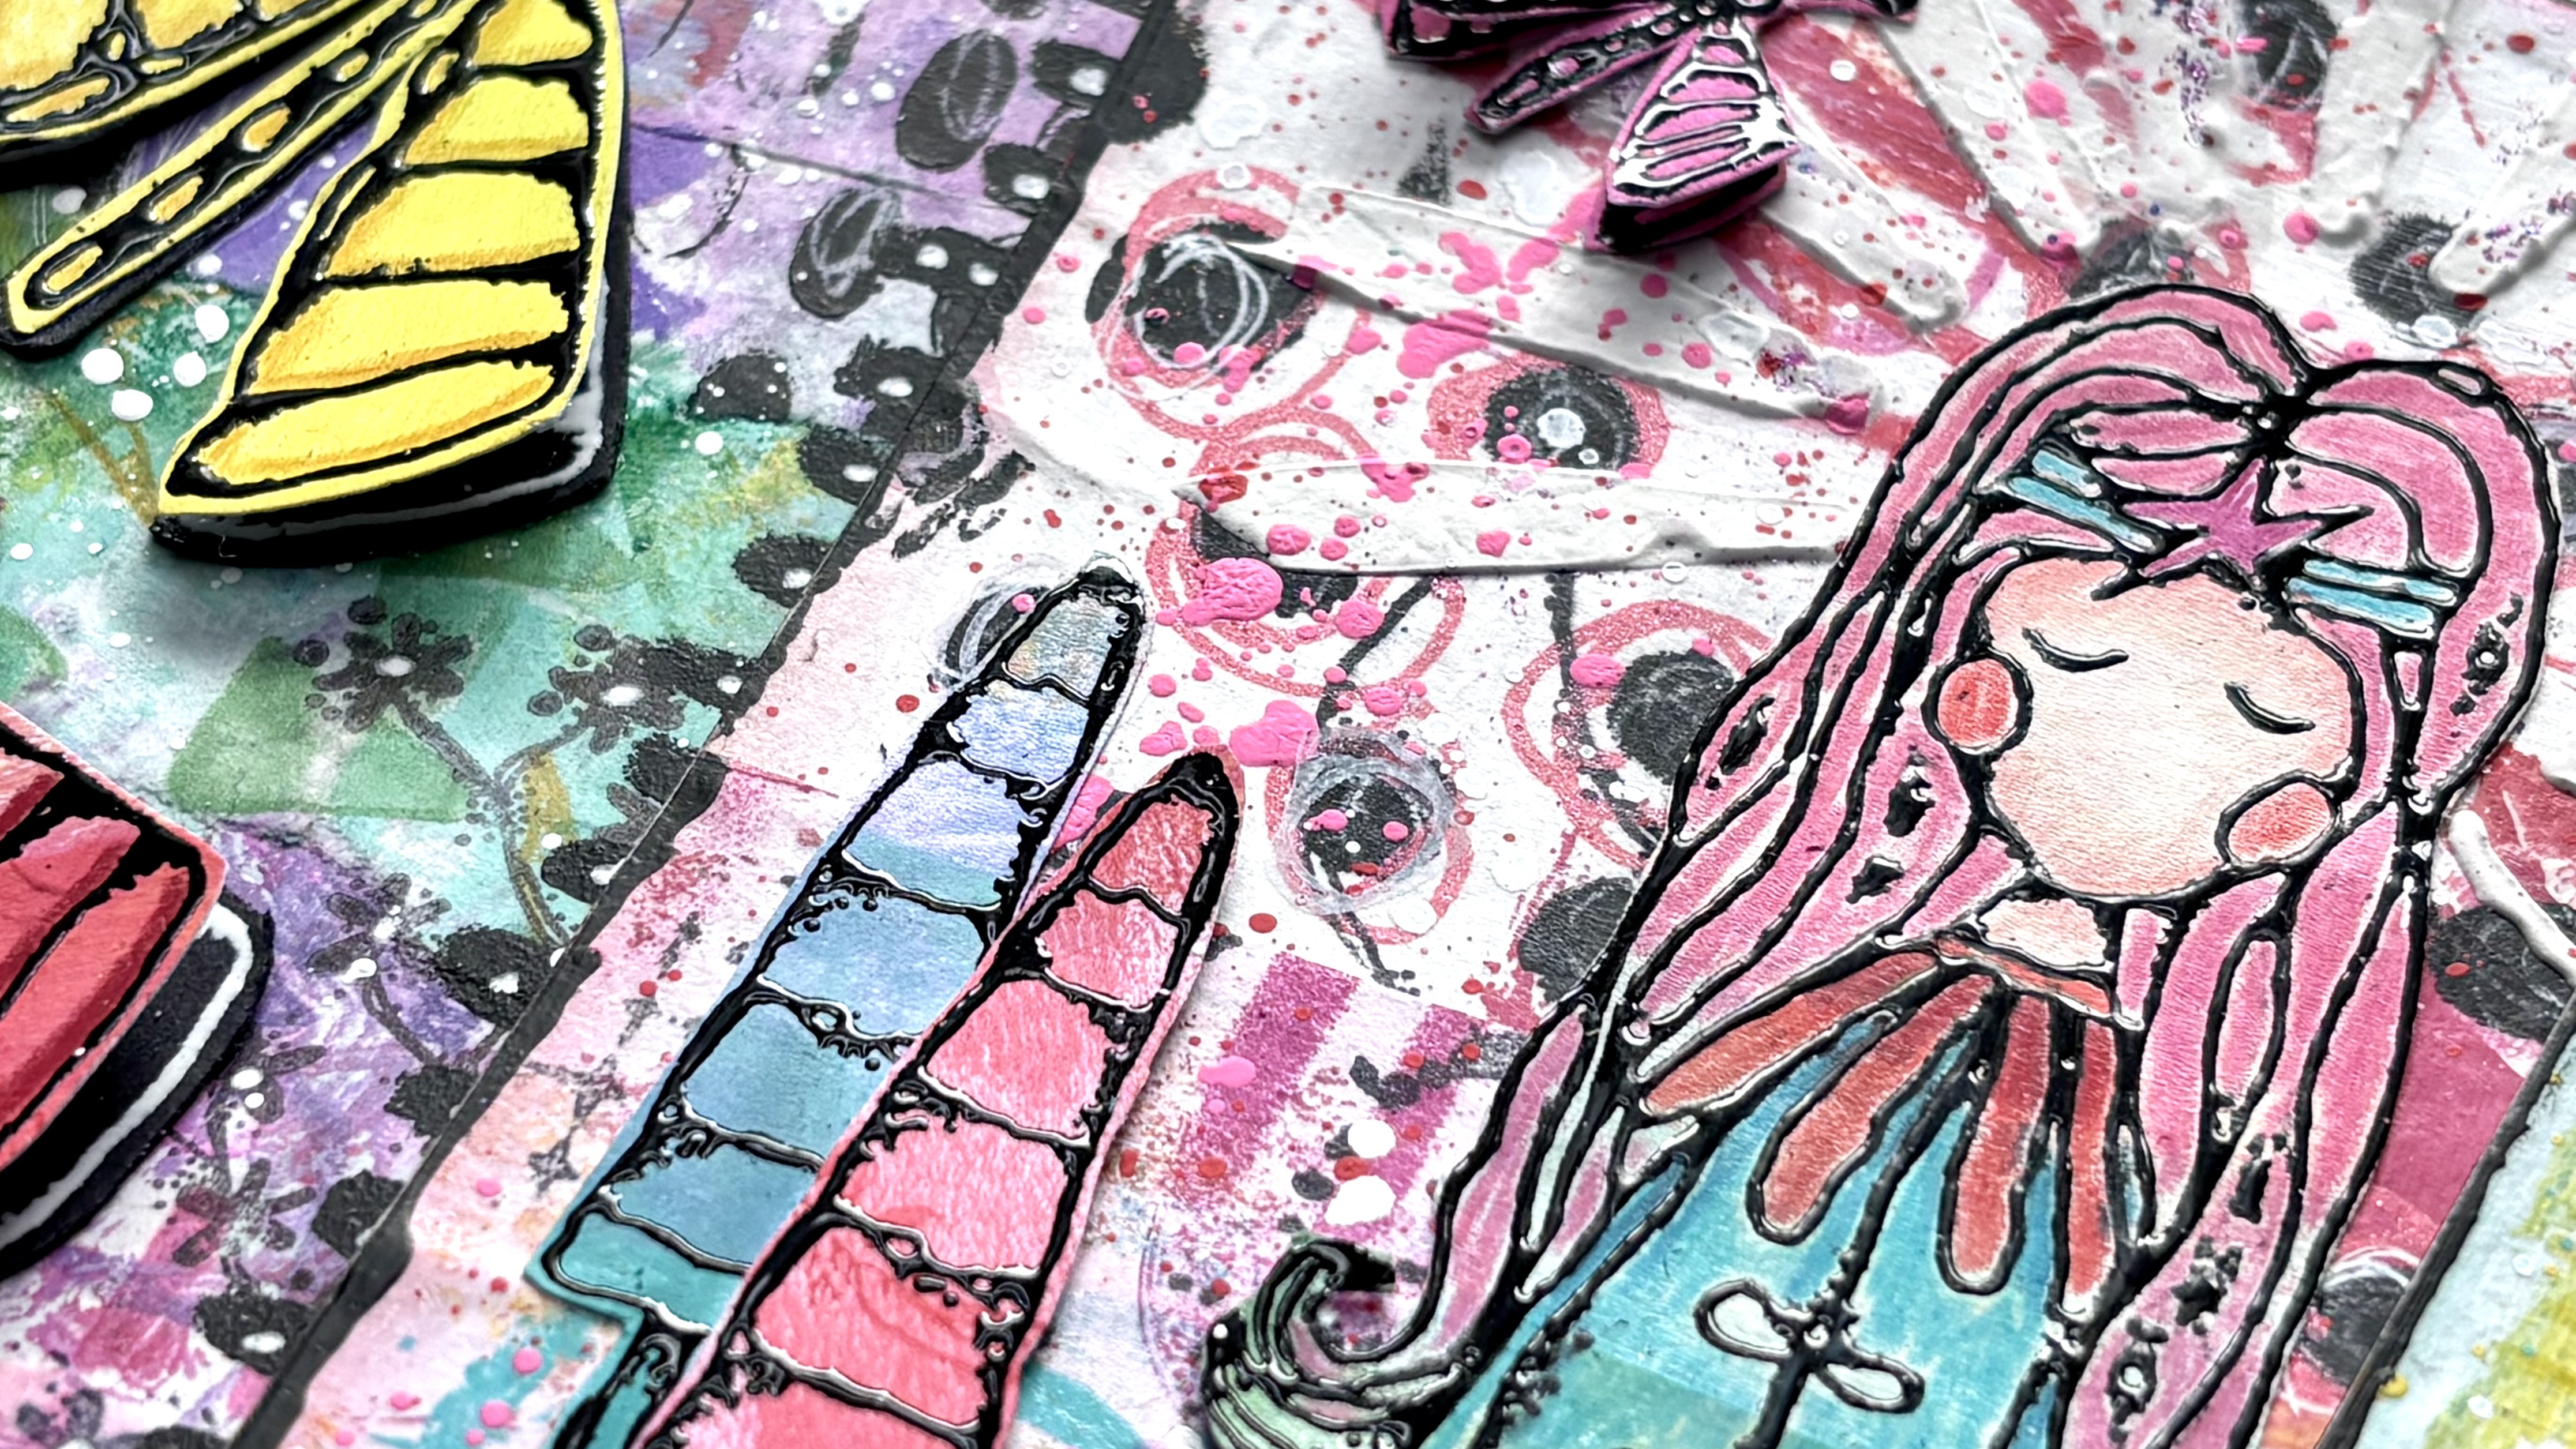
But we're still not finished .... Time to position the stamps, embellish them with glitter and metallic watercolour paint on some of the black and white images. I double layered some of the butterflies for additional dimension. Once complete I adhered them to card blanks.


And hey presto, we are done ....just like that!! Certainly a multi faceted project, but very absorbing. I hope you enjoyed following along and will give all or aspects of the process a go. Here are some more images of the finished cards, along with some close ups.



Instagram: katy_norgate
Pinterest: Katy Norgate