Saturday, 4 May 2013

3up Becomes 4UP Drum Roll To Freya, Steven ,Pauline And Mel ....

For our finale night of 3UP sters we welcome  Freya, Steven, Pauline and Mel.

Freya Price


Here is my make, using the frame, Mini Wooden Tag, Flowers, PaperArtsy Fresco Finish Paints and music stamp!


Next up is ....

Steven Macari


I’m new to this and this is my first challenge, so when I opened my parcel I went “uh uh, ehhh ok! Why, oh why did I say yes?” this lasted about three days!


My #3UP ingredients were:


Metal Numerals 6(9) & 4 
Tando chipboard key.


I tried to find a connection between the key and the numbers and settled on the idea that there was a lock somewhere that involved the number 64 and therefore needed a lock.


All the “added” pieces are die cut from Grungeboard.I started with the lock. I cut a mini label and a keyhole. I cut the keyhole plate down from an ornate shape to a circle. I stuck some pink newspaper to the label and washed it in Irish Cream and Mocha Mousse Fresco Paints and stamped it with sepia Archival using Mini 75 stamp. 


I brushed on Grunge Paste to the keyhole plate and painted it with Mocha Mousse, rubbed on some Copper and Emerald Treasure Gold to get a metal/verdigris look and attached it to the label with brads. I dabbed Blood Orange around the edges of the label


The scrolls were smeared with Grunge Paste and buffed with the same colours of Treasure Gold to give a plasterwork effect.


The numerals were done in exactly the same way as the keyhole adding some Hyde Park. I painted the key with Chocolate Pudding and then used Copper, Emerald and Ruby Treasure Gold.


The frame, and a 5 x 5cm piece of Grundgeboard were sponge painted in Nougat, Stone, Irish Cream and Mocha Mousse with Snowflake used through  Mini Bingo (for my 64) and Mini Brocade stencils and a final wash with Hey pesto (love that colour...and the way Leandra pronounces it!). Again I used the same stamp and Archival Ink to stamp all around the frame and the centre card. 


When it was assembled it all decided there was something missing so I added keyholes on all the surfaces. These are die cut from the same die as the keyhole plate, covered in Treasure Gold Emerald and stamped with the same stamp but using Black Archival Ink this time.


Everything was given a “dusting” with Ruby and Renaissance Treasure Gold.


Boy did I have fun getting my fingers dirty!!

Thanks PaperArtsy.


Followed by  ....

Pauline Davidson


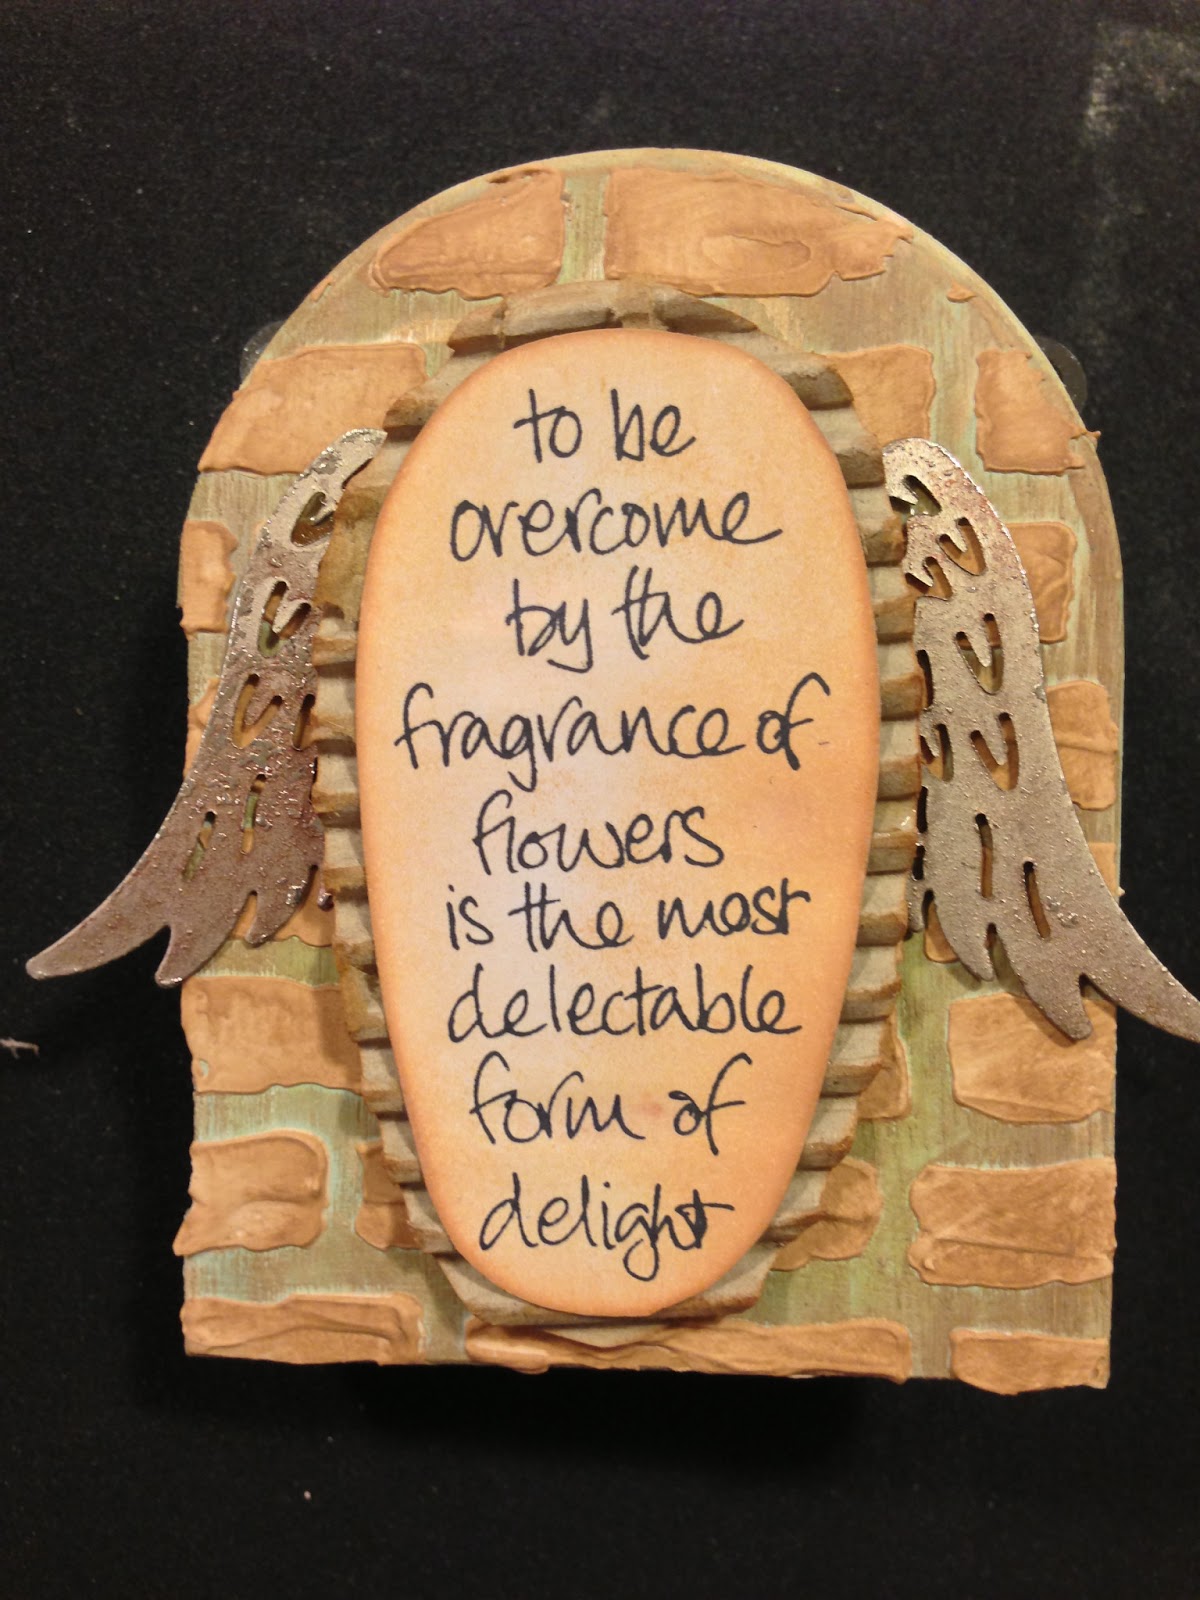
I started by painting and blending the Wooden Icon Double using Fresco Acrylic Paints in Mermaid, Guacamole and Mocha Mousse.  I then stamped some hearts from the Squiggly Mini SM04  in Snowflake but they barely show now!!    Then I used the Grunge Paste, coloured it with a bit of Brown Shed and pushed it through a Prima brick mask, on inside and front.  Didn't like the colour much on the background so put some mocha mousse over it.  Then stamped JOFY 11 12 flowers and grasses and coloured them with more Fresco Paint.  
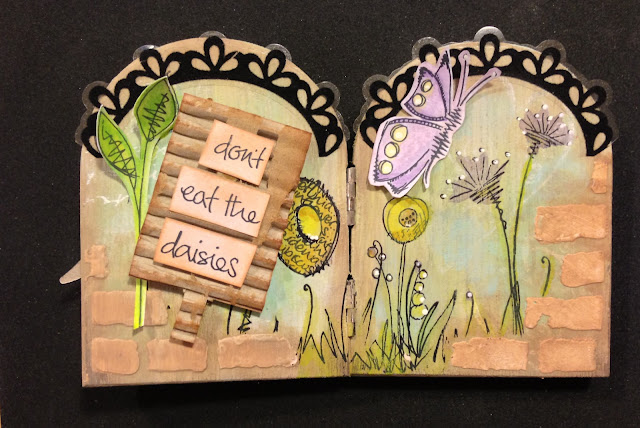


Also stamped the words on card and inked it  with Tea Dye Distress Ink and mounted it on corrugated card for 'signs'.  Stamped the butterfly on card and stuck it on to give some dimension. Cut the wings in half, rubbed some Onyxite Treasure Gold on them and put them behind the saying on the front. Cut the frame in half and made arches on the inside!  


Struggled with the frame - too black - but no idea how to recolour it - looking forward to seeing what others did!  I really enjoyed this and it showed me how much I still have to play and learn!!  


And last but not least is ....

Mel H

I coloured the background of the canvas by applying Mermaid and Sky Fresco paints with a baby wipe (they blend beautifully, but I find using a wipe makes that even easier and is satifyingly 'hands on'!) I added Inky Pool both by sponging through some sequin waste and by stamping with bubble wrap and corrugated card. I then used whatever PaperArtsy Stamps caught my eye from my (fairly extensive!) collection to build up a background.

I ran butterfly paper tape right round the canvas and added Old Gold paint fairly haphazardly to the edge, then spritzed with Perfect Pearls Mist in Heirloom Gold for extra vintage-y sheen! Then I turned to the embellishments. The branch was painted with Guacamole, then sponged with Hey Pesto when that was dry; the butterflies had a base coat of Rose, a layer of Crackle Glaze, then Claret over the top.

All these pieces were also edged with Old Gold. I decided where on the canvas these would go and where I wanted to position my two main stamps (a PaperArtsy Clock and a quotation about butterflies and time which I *love* but sadly have no idea who made the stamp), then sponged on some Nougat to give a base for those stamps.

 I added hands to the clock with Tim Holtz 'spinners'. Finally, feeling that I needed something to balance the greens of the branch, I added some little chipboard squares which were painted with Guacamole and edged with Old Gold.


And what a thoroughly enjoyable, messy day I had! Many thanks :)


So #PATWITS, #3UP peeps we hope you have enjoyed this week of beautiful projects.

  Leandra and I would like to say a "huge thank you" to all our 3Up sters who took part in this mystery game .... it has been "totes amazeballs" to see everyone's own unique creativity unfold. Also a huge thank you to everyone who has taken the time to stop by and support our guests.

Friday, 3 May 2013

3up drum Roll To Cynthia, Margaret And Alison ....

Tonight we would like to welcome Cynthia, Margaret and Alison to the 3UP fun.
 
Cynthia Yeomans(aka RainbowLady)


I was delighted to be chosen to do this new fab PATWITS #3UP challenge.


I was given three items to use to create one project... the plaque, buttons and fab flowers.
I used the super new Grunge Paste over a couple of butterfly and button stencils.


 Next I painted Cinnamon, Honey Dew and Blood Orange Fresco Paints and Crackle Glaze over the top, drying each layer before moving on to the next.


Yes - really I did not use purple this time!!!  lol.


Stamped random Haberdashery stamps then added some Gilding wax and Sparkle medium to the raised areas.
 

I coloured the mannequin using Dylusions Ink Sprays with added stamps, black dots and some flourishes - attached a tassel and one of the flowers. and the gold wings from my stash.
Fastened with bakers twine the metal buttons, scissors, pins and artful embellies plus a sewing machine and cotton reel top.


Created some leaves using the Tim Holtz die and stamped 'You're Sew Special' in black... using a Debbi Moore stamp. A few hat pins and the fab flowers finished it off.
Many thanks for the chance to do this super new challenge... hope you like it'


Next up is .... 

Margaret Brackenbury


 #3UP PIECEs WERE A MEDIUM FRAME, GATE CUT OUT and WINGS.

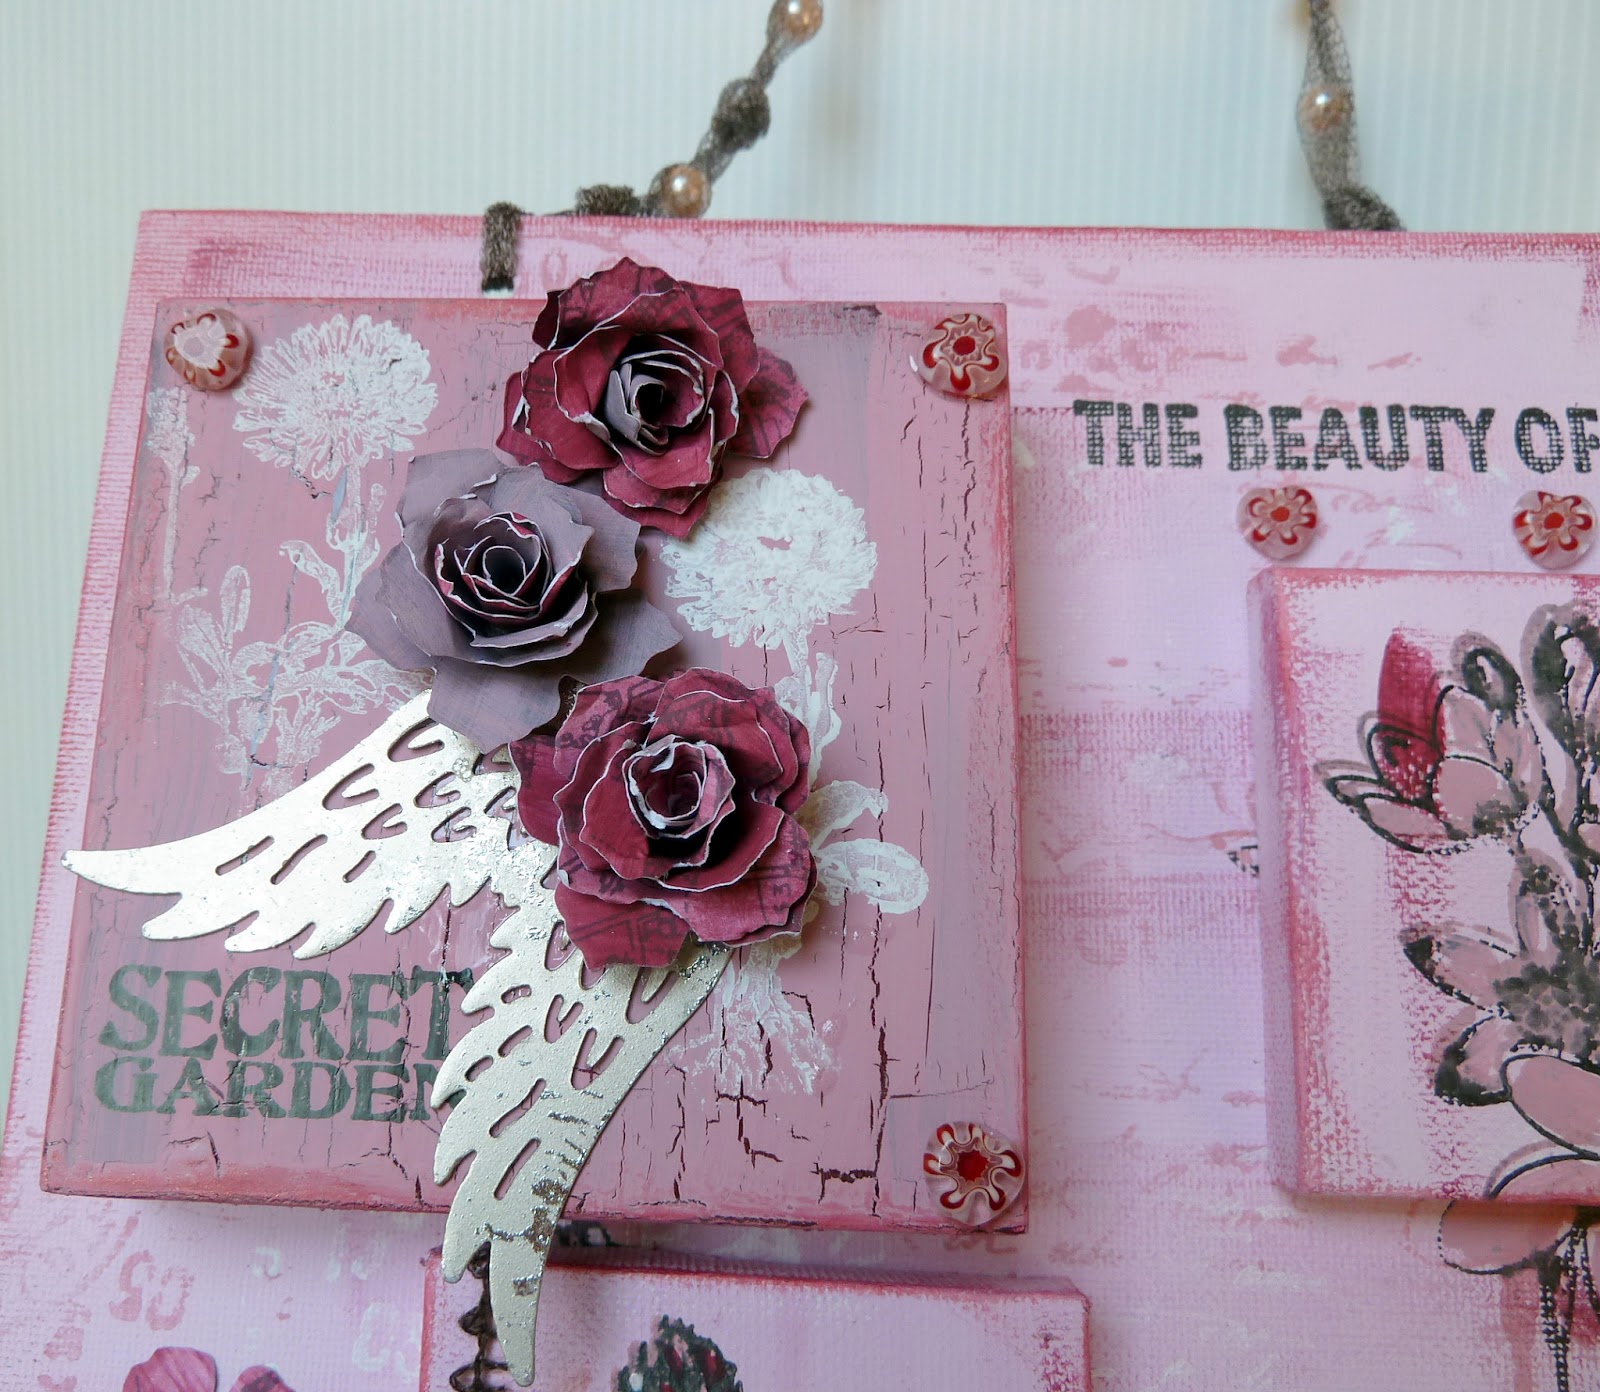
To these I added a large canvas board, for the base and two smaller canvas mini boards.   I cover all the wooden and canvass pieces with Gesso,  next I covered the main canvas and the two minis with Sherbet Fresco Paint, then dry brushed with Claret,  I then stamped the Paperartsy Minis29 and 44 in both Rose and Snowflake to create the background. 


 Next I stamped the flowers in Rose and BlackArchival Ink – Stamp sets  HP1009 and 1010.  With me so far.  I then painted in some of the flowers again using Rose and Claret.  The larger frame top left, I painted in Claret, added a coating of  Crackle Glaze allowed to dry and top coated with Rose, and stamped the top and sides with  Mini 68, Next I used Mini Flowers  MN67 and MN68 at the bottom left and right corners, first in Claret and then in Black Archival Ink.  I added edging to all the sides using a metallic rub on.


Now to the decorating bits, words top right are from ELNB02 and to the larger block top left I added the wings, and words from  HP1005.  The roses are made using the Tim Holtz Tattered Pinecone Die using Smoothy White Stamping Card which was painted in Rose and Claret. Plus a couple of  little beads. I used ribbon to create a fence at the bottom, cutting a little piece off to add to the sides of the little frames. The gate I painted with Treasure Gold Liquid LeafSilver. 


 The Dragonfly was made using the Paperartsy Metal Card, embossed and die cut. Some white pen word just to bring out the central flowers. Cant do anything without a bit of white pen!!!!

I finally added some little die cut flowers (Tim Holtz Tattered Florals), buttons and cord.  The hanger at the top is made from knitted wire tube with little pearls knotted at intervals.


So there it is I loved making my "Secret Garden" and thanks for the opportunity to create.


And last but not least tonight is ....  

Alison Hall


First I painted the greyboard coaster with Snowflake Fresco Paint. Then I used Grunge Paste through the Crafter's Workshop Mini Quatrefoil Stencil. When the paste was dry, I painted all over with London Bus, then sponged highlights around the edge with Claret, and Eggplant. I added some highlights with White Fire Treasure Gold, then buffed it up. I sponged some Little Black Dress around the very edge, then used the same colour to stamp the "German Script" from ESN01

I separated the little Tando gate down the middle, then painted the pieces with Little Black Dress Fresco Paint. I used White Fire Treasure Gold to add highlights. Then I glued the 'gates' in place on the board.

I stamped and cut out the lady's face from Petals Plate No.3, the Pierrot hat, the '36' bingo counter, and the phrase from Pierrot Plate No.2, & the 'body' from Doll's Plate No.4. I used watered down Fresco Finish Paint (London Bus, Eggplant & French Roast) to colour the images. 


I grunged up the silver wings with some Little Black Dress Fresco Paint, then rubbed most of it off & added highlights with White Fire Treasure Gold. I gave them a good buffing for a nice shine.

I assembled & glued down my art doll as shown in the photo, then finished off by adding some eyelets & chain to hang my piece. 

Join us again tomorrow night when our last 3UP sters (there is a twist to the finale) share their projects with us.

Thursday, 2 May 2013

3up Drum Roll To Sam, Sarah And Rachel ....

Tonight we would like to welcome Sam, Sarah and Rachel as our 3UP sters ....


Sam Butler


Blended the background with lots of different colours of Fresco Paints until I liked it.  Did the "Leandra bump" technique with the Mini Harlequin Stencil using Baltic Blue and Stone Fresco Paints.  Stamped the image which is from LPC008 onto Crackly Tissue Paper, then  painted the back with more Fresco Paints.  Next I coloured the Tando Creative pieces and crocheted flower with Eggplant and South Pacific. I then randomly stamped the "script" from Ink and the Dog using Black StazOn and White Versamagic Ink.  I then coloured the brad inside the flower. At this point I felt the Tando Key was lost in the background so I repainted it using Little Black Dress then stamped the script in white.


Next up is ....

Sarah Dunkley


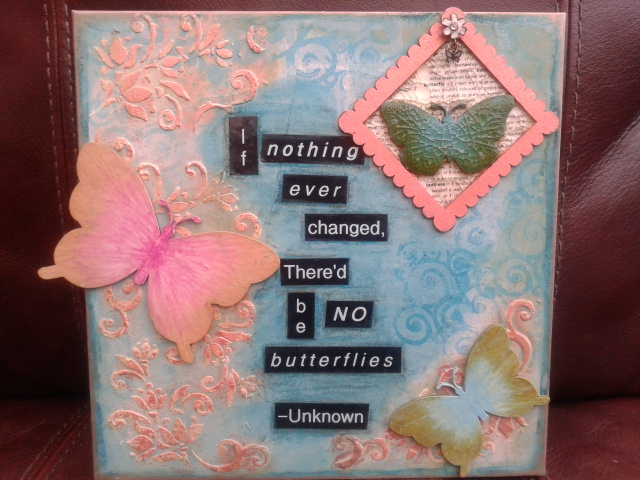
 I started by looking for a quote. I saw this one on Pinterest and thought it was perfect! I stuck old book pages to the canvas board, painted it with Teal and Rose paint, then stamped it with a swirl stamp & Peacock Feathers Distress Ink. I added some texture with some polyfilla ( sorry I haven't got any grunge paste yet!) through a floral stencil & painted the raised areas in copper. I painted the butterflies again in Teal, Rose and Duck Egg, then inked the edges with Vintage Photo Distress Ink. I then went over the paint with my water soluble pastels and graduated the colours. Next I added a little iridescent glitter on the edges of the blue one then adhered both butterflies to the board. 


I painted the frame in Copper and glued it to a dictionary page showing the definition of butterfly. The small butterfly fitted inside perfectly so I glazed the whole thing with Crackle Glaze. I added a flower & butterfly charm to the top of the frame ( it was an earring, I love using broken jewellery in my work!) I used my label maker to print the quote out, stuck it on & went round the words & the edges with my water soluble pastels. Finished off with Copper round the edges too. 


And last but not least tonight is ....

Rachel Soulsby


So what was I thinking? What do you do with a 4x4 canvas, 2 Vintaj Buttons, a Tando Creative Gate, and a very amature crafter? I am not a great "Blue" person so I thought I would challenge myself using Blue. But what to create? I thought about creating a garden, but it had to be a "secret one", as this all had to be a big secret.


I started by using two stencils with Grunge Paste, then Sky and Baltic Blue in alternate quadrants, then Mermaid through two stencils and Inky Pool and Beach Hut with a wet wipe. Then stamped some text and ink splashes in Cobalt Blue Archival Ink, then added some "schizzle" foil accents. I wasn’t happy with the sides of the canvas so covered them in Tim Holtz Tissue Paper and colour washed it in Mermaid then dry brushed with Inky Pool. Next I highlighted it with Prisma Pencils then added Treasure Gold (Aquamarine & Sapphire).


I found a vintage dictionary page with the words "smell", which I  colour washed in Vintage Lace, next I stamped JOFY09 stamps in Sepia Archival Ink, then stamped on scraps of paper using Distress Ink (Peeled Paint and Forest Moss) for the leaves. Next I used Claret, Very Berry and Tinned Peas to fill in. I used Stone and Mud Splat to paint the gate and then highlighted with the same three Treasure Gold. I cut an 8x8 corrugated cardboard, and colour washed with Sky and Inky Pool and Beach Hut. Then stamped in Snowflake JOFY stamp and coloured one in with Tinned Peas, Inky Pool and Bora Bora. I made a tape sandwich to cut out a moth, bird and film strip/post mark. I put the bird, and Vintaj buttons through a Tim Holtz embossing folder and colour washed them with Little Black Dress,  Very Berry and Claret, respectfully. I then used the ELB01 flower and stamped with Vintage Lace, Very Berry, Claret, then I stamped some text with Plum ink over part of the flowers. Then used some words from ESN04. Then used a small tag, and used Crackle Glaze, then made two tags with shrink plastics and JOFY12 stamps, and coloured them in Pan Pastels. 

Who will be the 3UP peeps tomorrow night I wonder!! Join us at 7pm to find out.

Wednesday, 1 May 2013

3UP Drum Roll To Emma, Miriam And Judith ....

Tonight we welcome Emma, Miriam and Judith to share their 3UP projects.


I painted the wooden block using Fresco Paints in the following colours Sky, Baltic Blue, Inky Pool and Beach Hut. I then used Grunge Paste through a stencil to create some texture. Next I stamped some circles with StazOn Ink in the areas where there wasn't any Grunge Paste. Once the paste was dry I highlighted the raised areas with more Beach Hut. Next mix some more Grunge Paste with Beach Hut and apply it in a thick layer onto the frame then stamp the "script stamp" into the Grunge Paste.

I took some Metal Card and coloured it with some Alcohol Ink I also used the same colours on the Ideaology metal numbers I had been sent, I then stamped the "gentleman" from Ink and the Dog Wings Plate 04 onto the Metal Card and placed it behind the frame which I then attached to the block.

I stamped the butterfly on to both Metal Card and Acetate, next cut them out and adhere onto the frame. To finish I adhered the numbers on to the canvas and highlighted some raised areas with Treasure Gold in Pewter.

Next up is ....

Miriam Grazier


#3Up products ....

Large Hanging Chunky Board, Vantaj Buttons,Black Oval Frame
 As soon as I saw the #3Up products I knew exactly what I wanted to create.


I covered the hanging in Orchid Fresco Paint dry with a heat gun. I then covered the hanging with a layer of Fresco Finish Crackle Glaze, drying  before adding the third layer in Vintage lace. Once dry I rubbed over the hanging with a dry cloth to remove some of the paint and crackle to distress it further.


I coloured some Grunge Paste with Vintage Lace and layered it in patches on the hanging
I then stamped into it using JOFY stamps and dried it with a heat gun
I stamped JOFY 12 flowers using Archival Ink. I then turned the tissue over and painted the back. After drying I attached the flowers to the hanging using Beeswax. I cut around some of the extra flowers and layered them on top of the flowers on the hanging.


I painted the buttons with Fresco Paint and stamped over them Archival Ink. I threaded string and glued them to the hanging.

When I looked at the frame I intially thought about it being cut to create corners but then I thought the swirls looked like flower vines and so decided to cut around some and attach them to the flower stems.  I used a china graph pencil to highlight the flower stems.

Next I highlighted the textured and stamped areas with Rose Quartz Treasure Gold and painted around the hanging with Little Black Dress to finish.

I really enjoyed creating this project - great fun to make.  And I enjoyed looking at the frame in a different way to it's initial intention of it being a frame!


 And last but not least is ....

Judith Smith


I’ve based my project on a love letter theme and I used three sets of stamps ESN05, ID02, and ID03, as I like to mix stamp sets up a lot. I started by coating the plaque with Fresco Finish Paint, graduating from Vanilla down to Rose, then added some texture through a Crafter’s Workshop Stencil (Mini Tile Texture) with Grunge Paste and Puff Paint. I added a loose wash of colour all over the board with Claret and Beach Hut, drying the surface with a heat gun afterwards. I stamped the letter in the top corner. I stamped the images with Archival Ink and coloured them with water based markers, adding a little bit of Fresco Finish for the faces. I painted the wings with FrescoFinish and stamped them with Mini 61, before cutting them in half. 


The square frame was painted with Little Black Dress before adding Crackle Glaze then Vanilla on top. Again, I added a loose wash of Claret and Beach Hut to knock the colour back a little bit. I added some Treasure Gold to the raised texture created by the stencil, the wings, and around the edges of the whole piece. Finally, I stamped some added detail using Snowflake  to the background before assembling the project.

Join us again tomorrow evening when another 3UP sters will be sharing their mystery projects.


More Posts to Enjoy