Hi everyone, it's Jennie (Live The Dream) with you today, and I'm here to share with you a clean and simple scrapbook layout using a selection of stamps designed by Courtney Franich and Frescos in a lovely soft palette to complement a favourite photograph of my grandaughter. Clean and simple (C&S) scrapbooking is not my normal go to as I am by admission a messy crafter! But I do love the C&S style as it ensures the photograph is the main element on the layout, everything else being there to highlight and not swamp it. Other simple elements are arranged in a smooth, unlayered way on a plain background and everything is in balance.
I find that teaching this technique is very beneficial to both beginners and experienced scrapbookers as it really makes you think about placement, balance, colour and design...and to love the "white" space. (It might not necessarily be white! but is known as the white space.)
This is a favourite photograph of my granddaughter Caitlyn who is now aged 8 and an avid stamper and crafter when staying with Nana! I thought it would work well with Courtney's small scale background stamps and a simple cut shape.
I do like to have a clean cut edge to photographs and shapes and so I started by playing around with some dies to see how I might be able to cut the photograph into an interesting shape rather than the usual portrait style photograph. Using dies to cut the elements on the page ensures a nice neat cut and if you have die sets, as here in terms of squares, you can play around with different sizes to get a balanced and unified look.
I then looked for complementary colours. I didn't want to use bright pink as I wanted the photograph to be the main focus, so went for PaperArtsy Fresco Finish Chalk Acrylic - Powder Pink FF220, Vintage Lace FF18 and Pewter FF21, brayering the colours onto some Smoothy Cardstock. (In the event I didn't use the Pewter but it is good to have a few colours to work with.)
I do like to cut a frame so the actual area of my layout is not the full 12 x 12. My ruler is 1.5" wide, just the perfect size! I have also brayered this with PaperArtsy Fresco Finish Chalk Acrylic Vintage Lace.
Reducing my layout paper to 11½ x 11½ and then scuffing up the edges just makes the whole layout area feel much smaller and manageable.

After working out a rough placement of the photograph and other elements I used a light colour ink along with stamps and a stencil to create a background. I love this simple layered look and use it on cards, scrapbook layouts and journals.
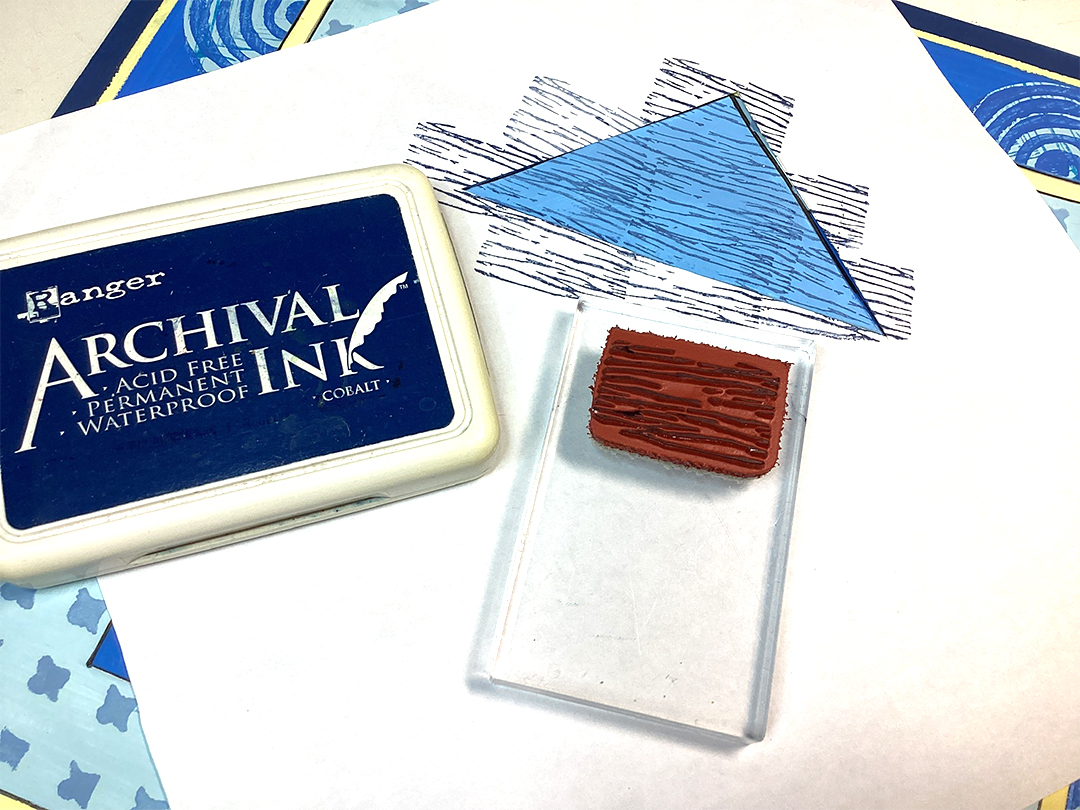
I start with a light layer of ink through the stencil and use the same ink on my stamps. The stamps are not put on a block but lightly touched onto the paper with my fingers. I always like a combination of little postage/franking stamps and text, so these two sets by Courtney provided both.
I used the same stamps and a combination of brown and grey ink to stamp on the brayered pieces of Smoothy Cardstock.
I then used my dies to place and cut out the areas I wanted using a selection of different sized squares.I am not a great fan of journalling on a scrapbook page, much preferring a quote or title to sum up my layout. I thought this lovely quote from Alison Bomber's Stamp set (EAB07) was just perfect for Caitlyn's expression. It made sense to use the same shape to keep things in balance.

I liked the shape of the photograph but just felt it needed something down the side so I kept things simple with this die cut from Smoothy Cardstock. Just tucking the photograph under the little leaf embellishment gives it a feel of a frame without being overpowering.
My die cut shapes were carefully stuck down keeping everything in line. This is where I can really mess things up ! I always manage to get an inky finger print or a bit of glue stuck where I don't want it. I took my time and kept washing my hands...however, the little bit of ribbon and flowers are hiding a little accident! but thankfully look as though I had planned to put them there.
To keep things balanced I have made a simple collage of leftover die cuts at the bottom of the layout. There is a "hint" of the stencil and stamping in this area to complement the collage.
Clean and Simple doesn't necessarily mean easy and quick! I find using this technique time consuming in terms of thinking about the design and how the elements are going to work, in addition to taking time to keeping everything crisp and clean.
The technique also benefits from good quality cutting and so die cutting shapes is for me the way to go - keeping things simple by using different sized dies of the same shape. It also allowed me to cut an interesting shape to my photograph. So often in scrapbooking photos are left as straight portrait or landscape but an interesting shape adds to the design and I feel gives many more options for playing around with design elements to complement the main focus of the layout.
Courtney's stamps were just perfect for these small and medium sized squares as well as working well in the background. Again using dies meant being able to isolate individual areas of the images for full effect.
This design and technique would work equally well as a card or journal page.
As always thank you for joining me.
Jennie x