Hi everyone, it's Liesbeth here with you for another With 3 Things post.
This feature on the PaperArtsy Blog is where 3 bloggers are sent 3 items in the post. We have no clue what PaperArtsy HQ is going to send us, there might be a slight variation (for example on this round we each were sent slightly different paints) but generally 2 of the 3 things will be identical.
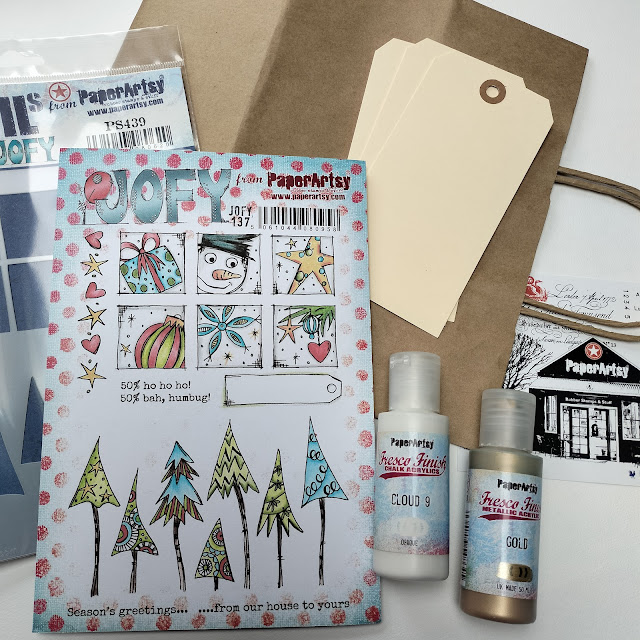
This is what I found in the surprise package I got: Stamp set Jofy137, Jofy stencil PS439, two PaperArtsy Fresco acrylic paints Cloud 9 and the shiny Gold. Lovely! With this beautiful stuff also came a big paperbag and 3 tags. My brain immediately started spinning! ;-)
I just started...had so much fun and ended up with a little Christmas junk journal with a pocket inside for the tags. ...... let's take a closer look.
The cover of the closed book.

The insert of the book: the pocket for the tags at the left and some pages.

I loved the big paper bag and I decided to keep it's original form and natural look, and I just folded it in half and the cover of the book was there! First I sponged the entire bag with brown Distress inks (Vintage Photo, Gathered Twigs and Scorched Timber) to make it look old. I made white trees onto the cover with PaperArtsy Fresco paint Cloud 9 and the stencil PS439. At the bottoms of the trees a bit of Fresco paint Gold, and also with Gold the 6 squares of the stencil on the front. Christmas! :-) Perfect shiny gold!

Now I continued decorating: I stamped the trees (PaperArtsy Jofy137) with waterproof black ink (Tsukineko StazOn-Jet Black). I really love the fact that the shape is not exactly the same as the stencil. Wonderful, quirky effect!
On a separate piece of paper I stamped the 6 squares, cut them out a bit smaller and sponged them with the 3 brown inks which I mentioned earlier. I bleached the images here and there with watered down bleach, and glued them on the golden squares. A pink colour appeared during bleaching... strange but so nice! It needed some snow and Cloud 9 is perfect for that! So I masked the squares and made small splashes with some watered down Cloud 9 paint and a fan brush.
I closed the top of the bag with some washi tape.The bottom of the bag was perfect to create a pocket, but there was some text and ugly things so I made a cover from a piece of music sheet, also at the right side. I softened the print a bit with Cloud 9 paint and sponged the brown Distress inks for the vintage, old look I wanted and glued the papers on the bag.
All of the stamps from stamp set PaperArtsy Jofy137 are used on the tags!
First I coloured the tags with the brown Distress inks, stamped the different images and bleached here and there. I finished the tags with some accents made with a white gel pen, and some Fresco paint Gold at the edges, applied with my finger. I stamped the small tag stamp on a separate piece of paper, cut them out, made them 'old' with ink, punched a small hole and stamped the texts.
The inside was still a bit empty so I stamped it with the trees stamp and brown ink. The binding is easy: I punched two holes, added a piece of golden elastic and inserted some beautiful papers.

In the meantime I stamped the edges of the music sheets with the ,hearts and stars' stamp and black StazOn ink and painted the stars with the Fresco paint Gold.
On the picture it's so hard to see how shiny the Gold accents are, in real life it's gorgeous!
I think this little Christmas book is nice to give someone as a present, or I'll send it to somebody as a very luxurious Christmas card! It was great to do, a very nice challenge and it always surprises me so much to see what the other two girls have made of (almost) the same materials! Hope we inspired you to create, have fun!
Hugs, Liesbeth XX
Blog: Liesbeth's Arts & Crafts
Facebook: Liesbeth Fidder-de Vos
Instagram: liesbeth_fidder


1 comment:
the pink effect from the bleach is unusual but goes well. Love the tags!!
Post a Comment