


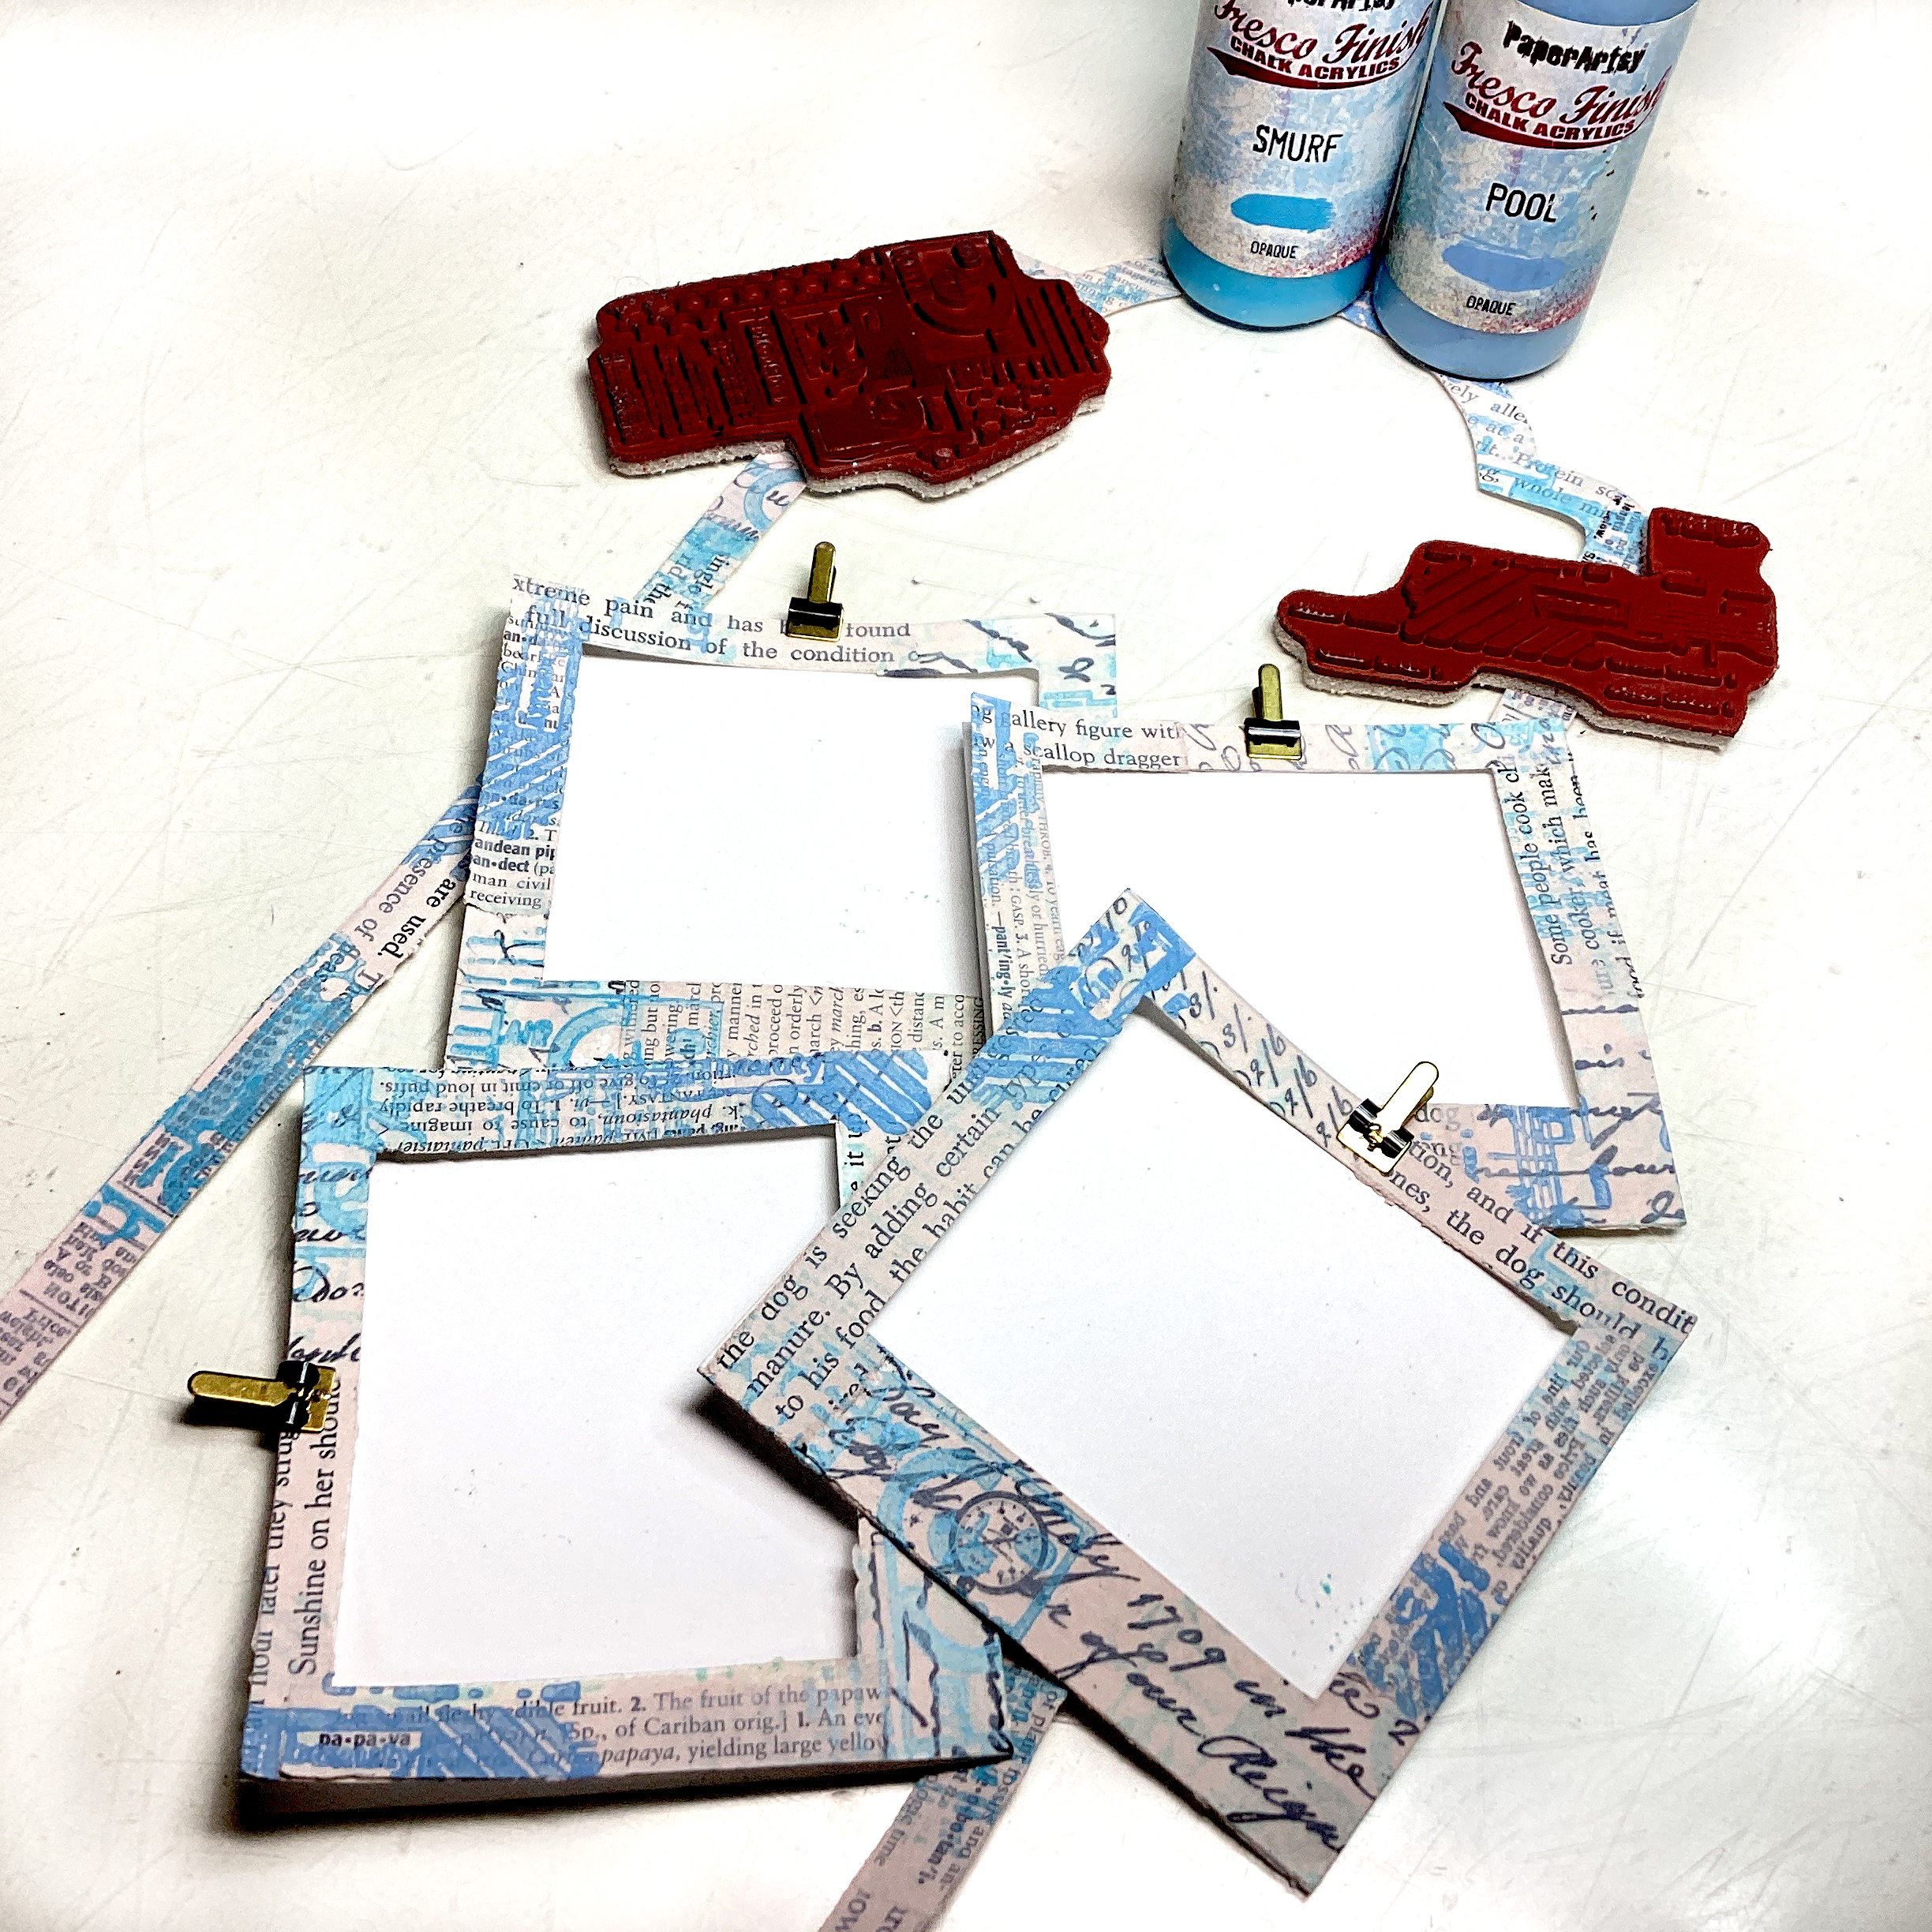
I figured I would mashup Lin's stamps and stencil into a folder and Sara's stamps into a specimen slider. For the base of the folder, I decided on the simple matte blue PaperArtsy Fresco Finish Chalk Acrylic - mixed Pool and Smurf so that I could add other specimen sliders later. For the folder layer, I stamped Lin Brown stamp set 01,30 (ELB01, ELB30) in Snowflake and used Grunge Paste for the PaperArtsy stencils by Lin Brown (PS001, PS024). The surface of the folder is simple, so I used Grunge Paste to make it uneven and change it up a bit. For the specimen sliders, I used Sarah's insect stamp set 21,62 (ESN21, ESN62). For coloring, I used PaperArtsy Mattints (Color numbers and names will be described below.) for a fresh look.


First, I made a large tag-like shape, 13" (33cm) long by 5" (12.7cm) wide, out of thick white paper, then I added a little white to Pool and Smurf and painted it with a brush.


Snowflake is an opaque color, but a bit weaker than grunge paste, so I used a gel pen.

Sara's quote ESN66 was embossed with black powder on Hot Picks blank tissue paper to ensure accurate placement at the top of the folder.


I am going to make the insect specimen. I will use beautiful and fun Mattints for the background. PaperArtsy Mattint from left Greenstone, Mojito, Acid, Glow, High Viz, The Pink, Dragonfly. The unlinked colours are not yet available at the online PaperArtsy Store but are already on the shelves at your nearest shop. Lovely insect stamps are ESN21, ESN62, they embossed with black embossing powder. I then cut into card shapes as shown in the picture below.

The next step is to make a handmade specimen slider. The total length is 6" (15.24cm) wide by 3 1/4" (8.2cm) long. The 6" long section is folded in half to make a window at the top like that.

The book page is collaged in the window area. I also collaged book pages in the same way in the folder frames.

When the collage glue is dry, apply a slightly watered-down coat of Vintage Lace so that the collage underneath is visible.

Distressed around with Ranger Industries - Distress Ink Vintage Photo and decorated with small labels from stock.

Finished with tabs at the top and dangled small labels to the eyelets and make four square cuts in four places to make it look like a specimen slider.


I thought it would be decorative to install some eyelets in the top right and bottom left of the folder, but it seems a little overdone.

This is the finished product and I made it to hang on the wall. It would be nice to make various specimen sliders and enjoy replacing them.

When I was making specimen folders for my projects, I thought it would be fun to make tags , so I made two using my favorite Lin's fern stencil PS006.

Now I used a gel plate. I used a Turquoise on Lin's PS006 fern stencil and wiped off ferns areas underneath with a baby wipe to create a background.
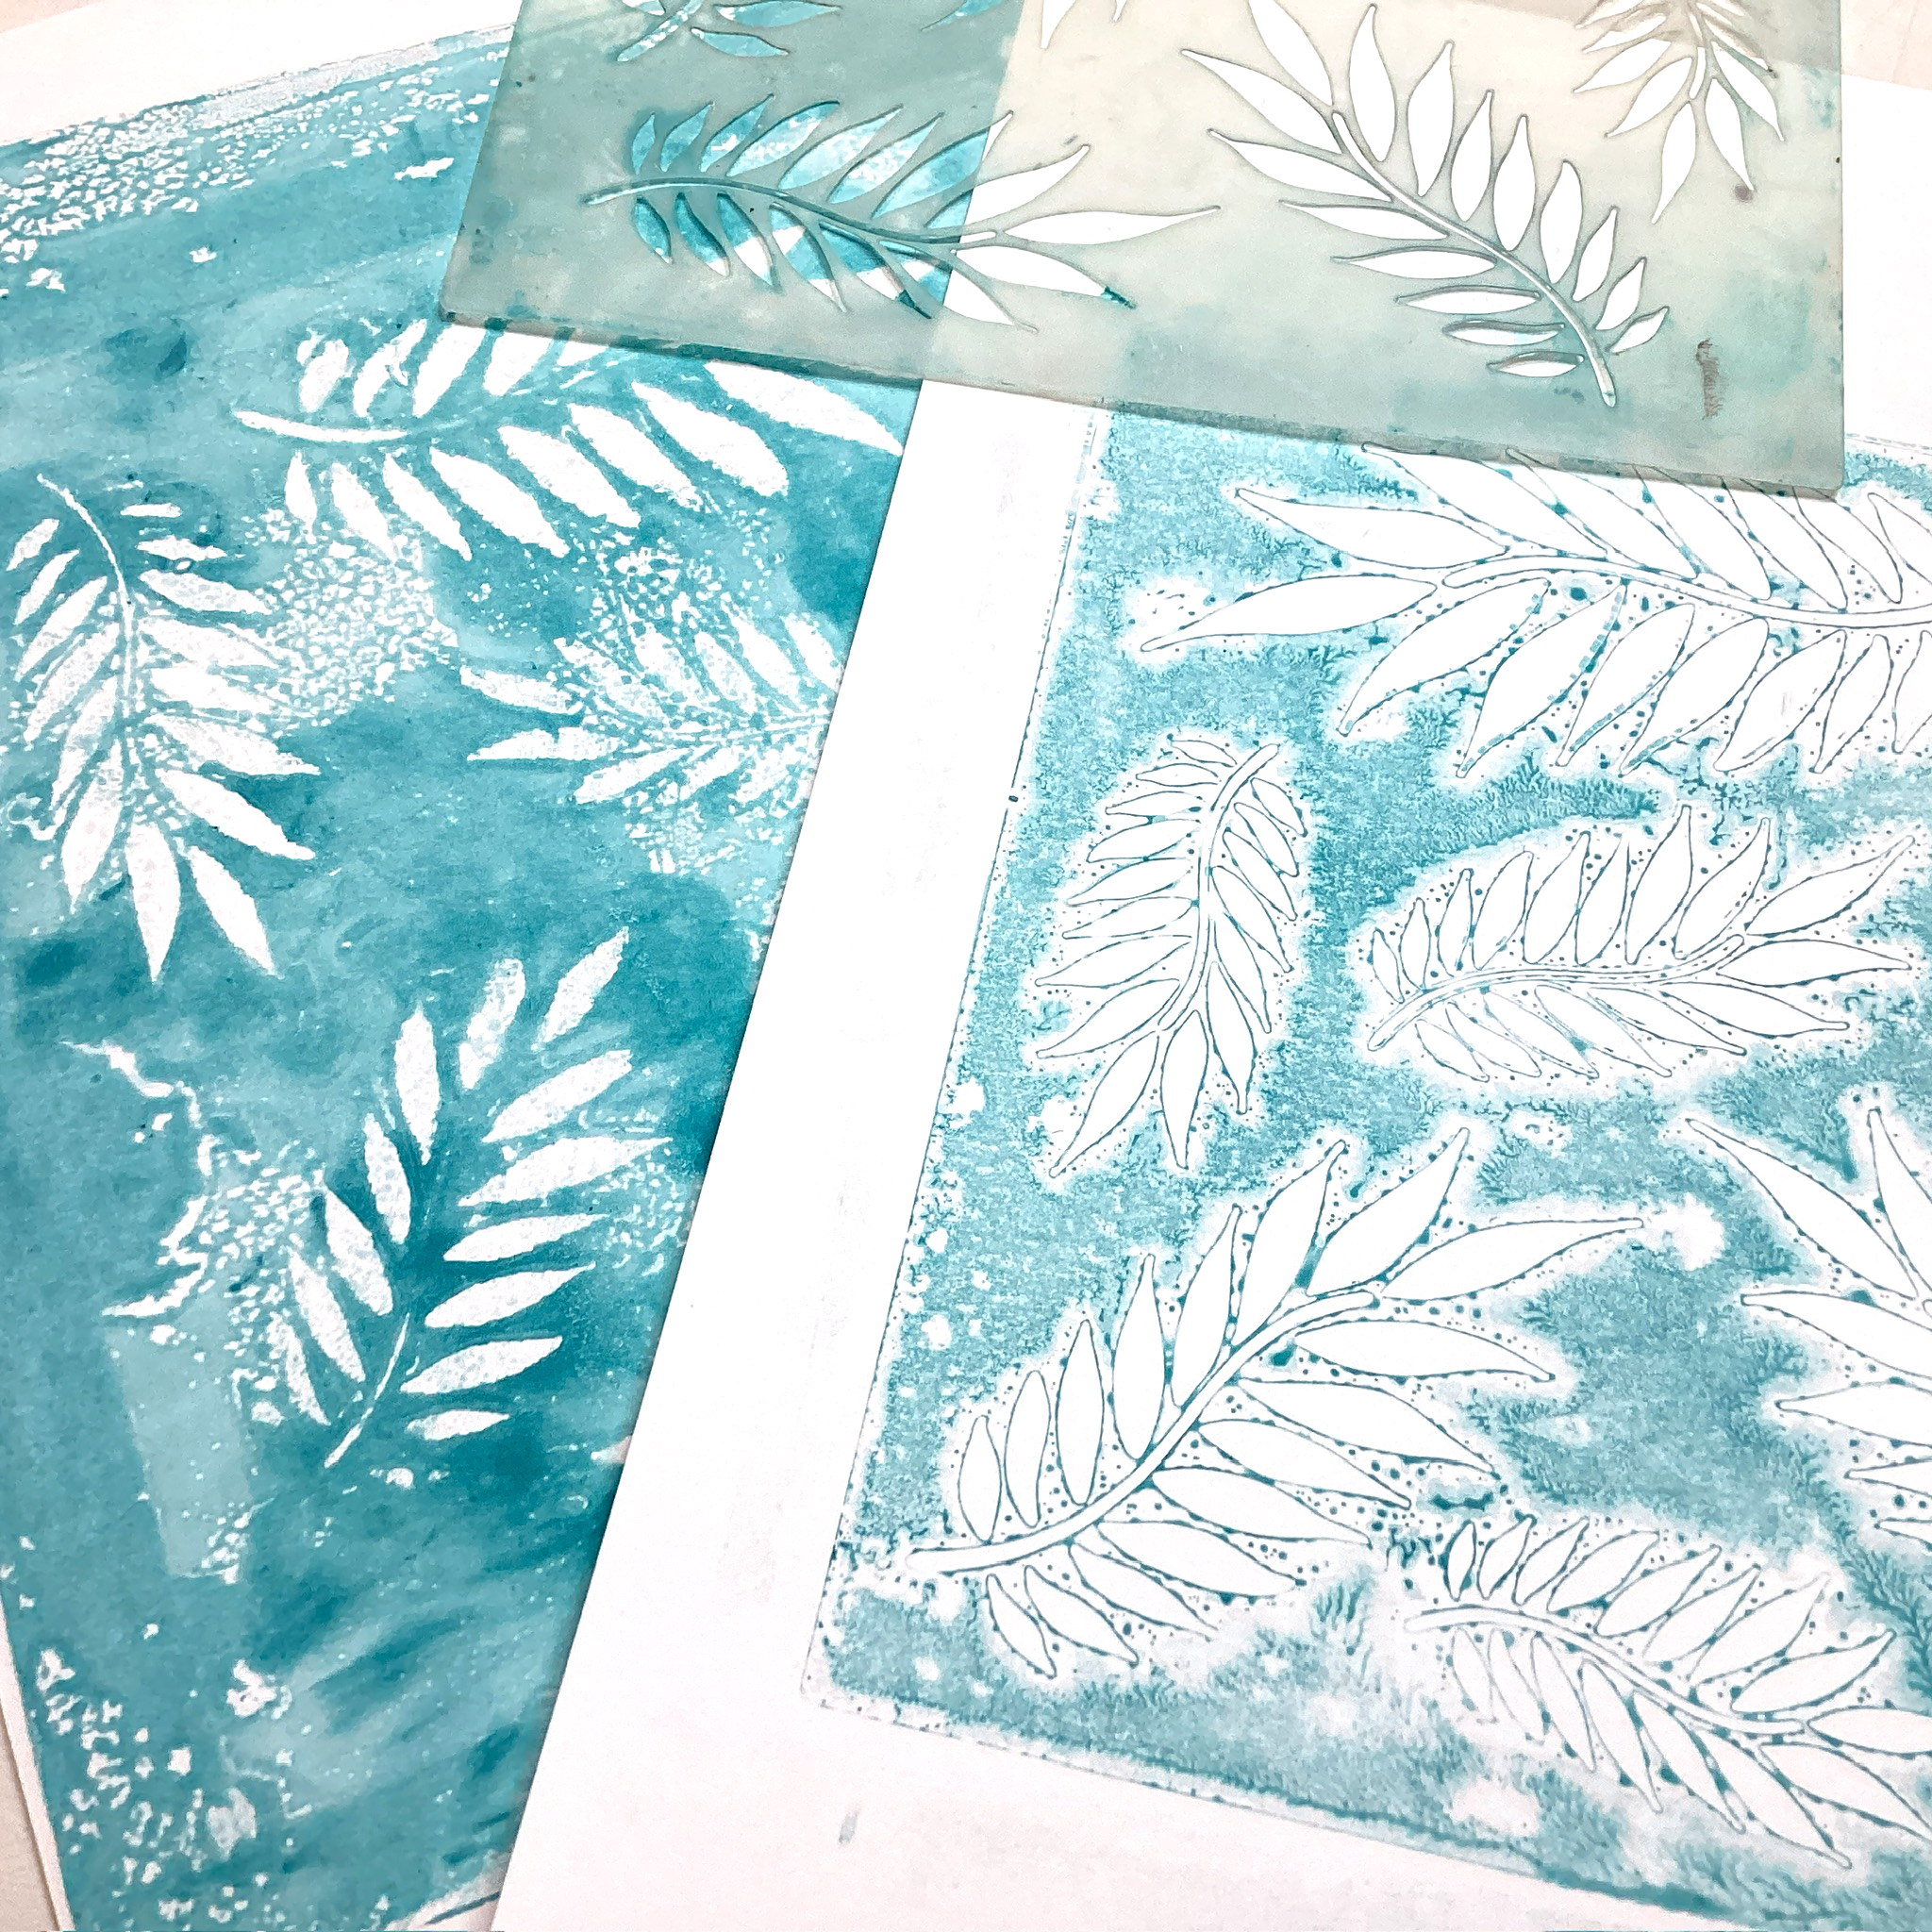
Two backgrounds, one positive and one negative, were created from the gel-printing and from the stencil with paint on it.

Here I took the positive background and placed PS006 stencil in the shape of a fern and lightly sponged these Mattints over it. The other one tag I used Lin's stencils with paints to the background then Sara's dragonfly, owl and words image embossed in black powder with embossed on blank tissue paper they glued over the background with satin glaze.


2 comments:
All three are beautiful projects, thankbyou for all the detailed instructions
I love these Etsuko - just my sort of project and colour palette.
Post a Comment