


Hi everyone
Victoria here with you today.
Summer feels like some long forgotten fever dream, and after a hectic few months, I’m ready to hunker down in my cabin and do all the creative things!
The printing topic and a gel plate are a match made in heaven! There’s so many options with a gel plate, but just gold old basic printing, creates the most glorious backgrounds and helps you get back in the creative groove if you’ve had some time away. Just playing with colour is one of my absolute favourite things to do and some gel plate grunge never fails to offer a pleasing result. So, I decided to combine some gel print backgrounds with Alison Bomber’s Minis to tie in with this quarter’s theme of ‘nature’. There are sprigs and berries a plenty on these seasonal designs, presenting the perfect opportunity to get ahead with some festive making.

And with all that in mind, I decided to create a gift card, in my favourite shabby chic style, using lots of textures and layers. This really is one of those makes which allows you to dig into your creative stash and play with all your products.


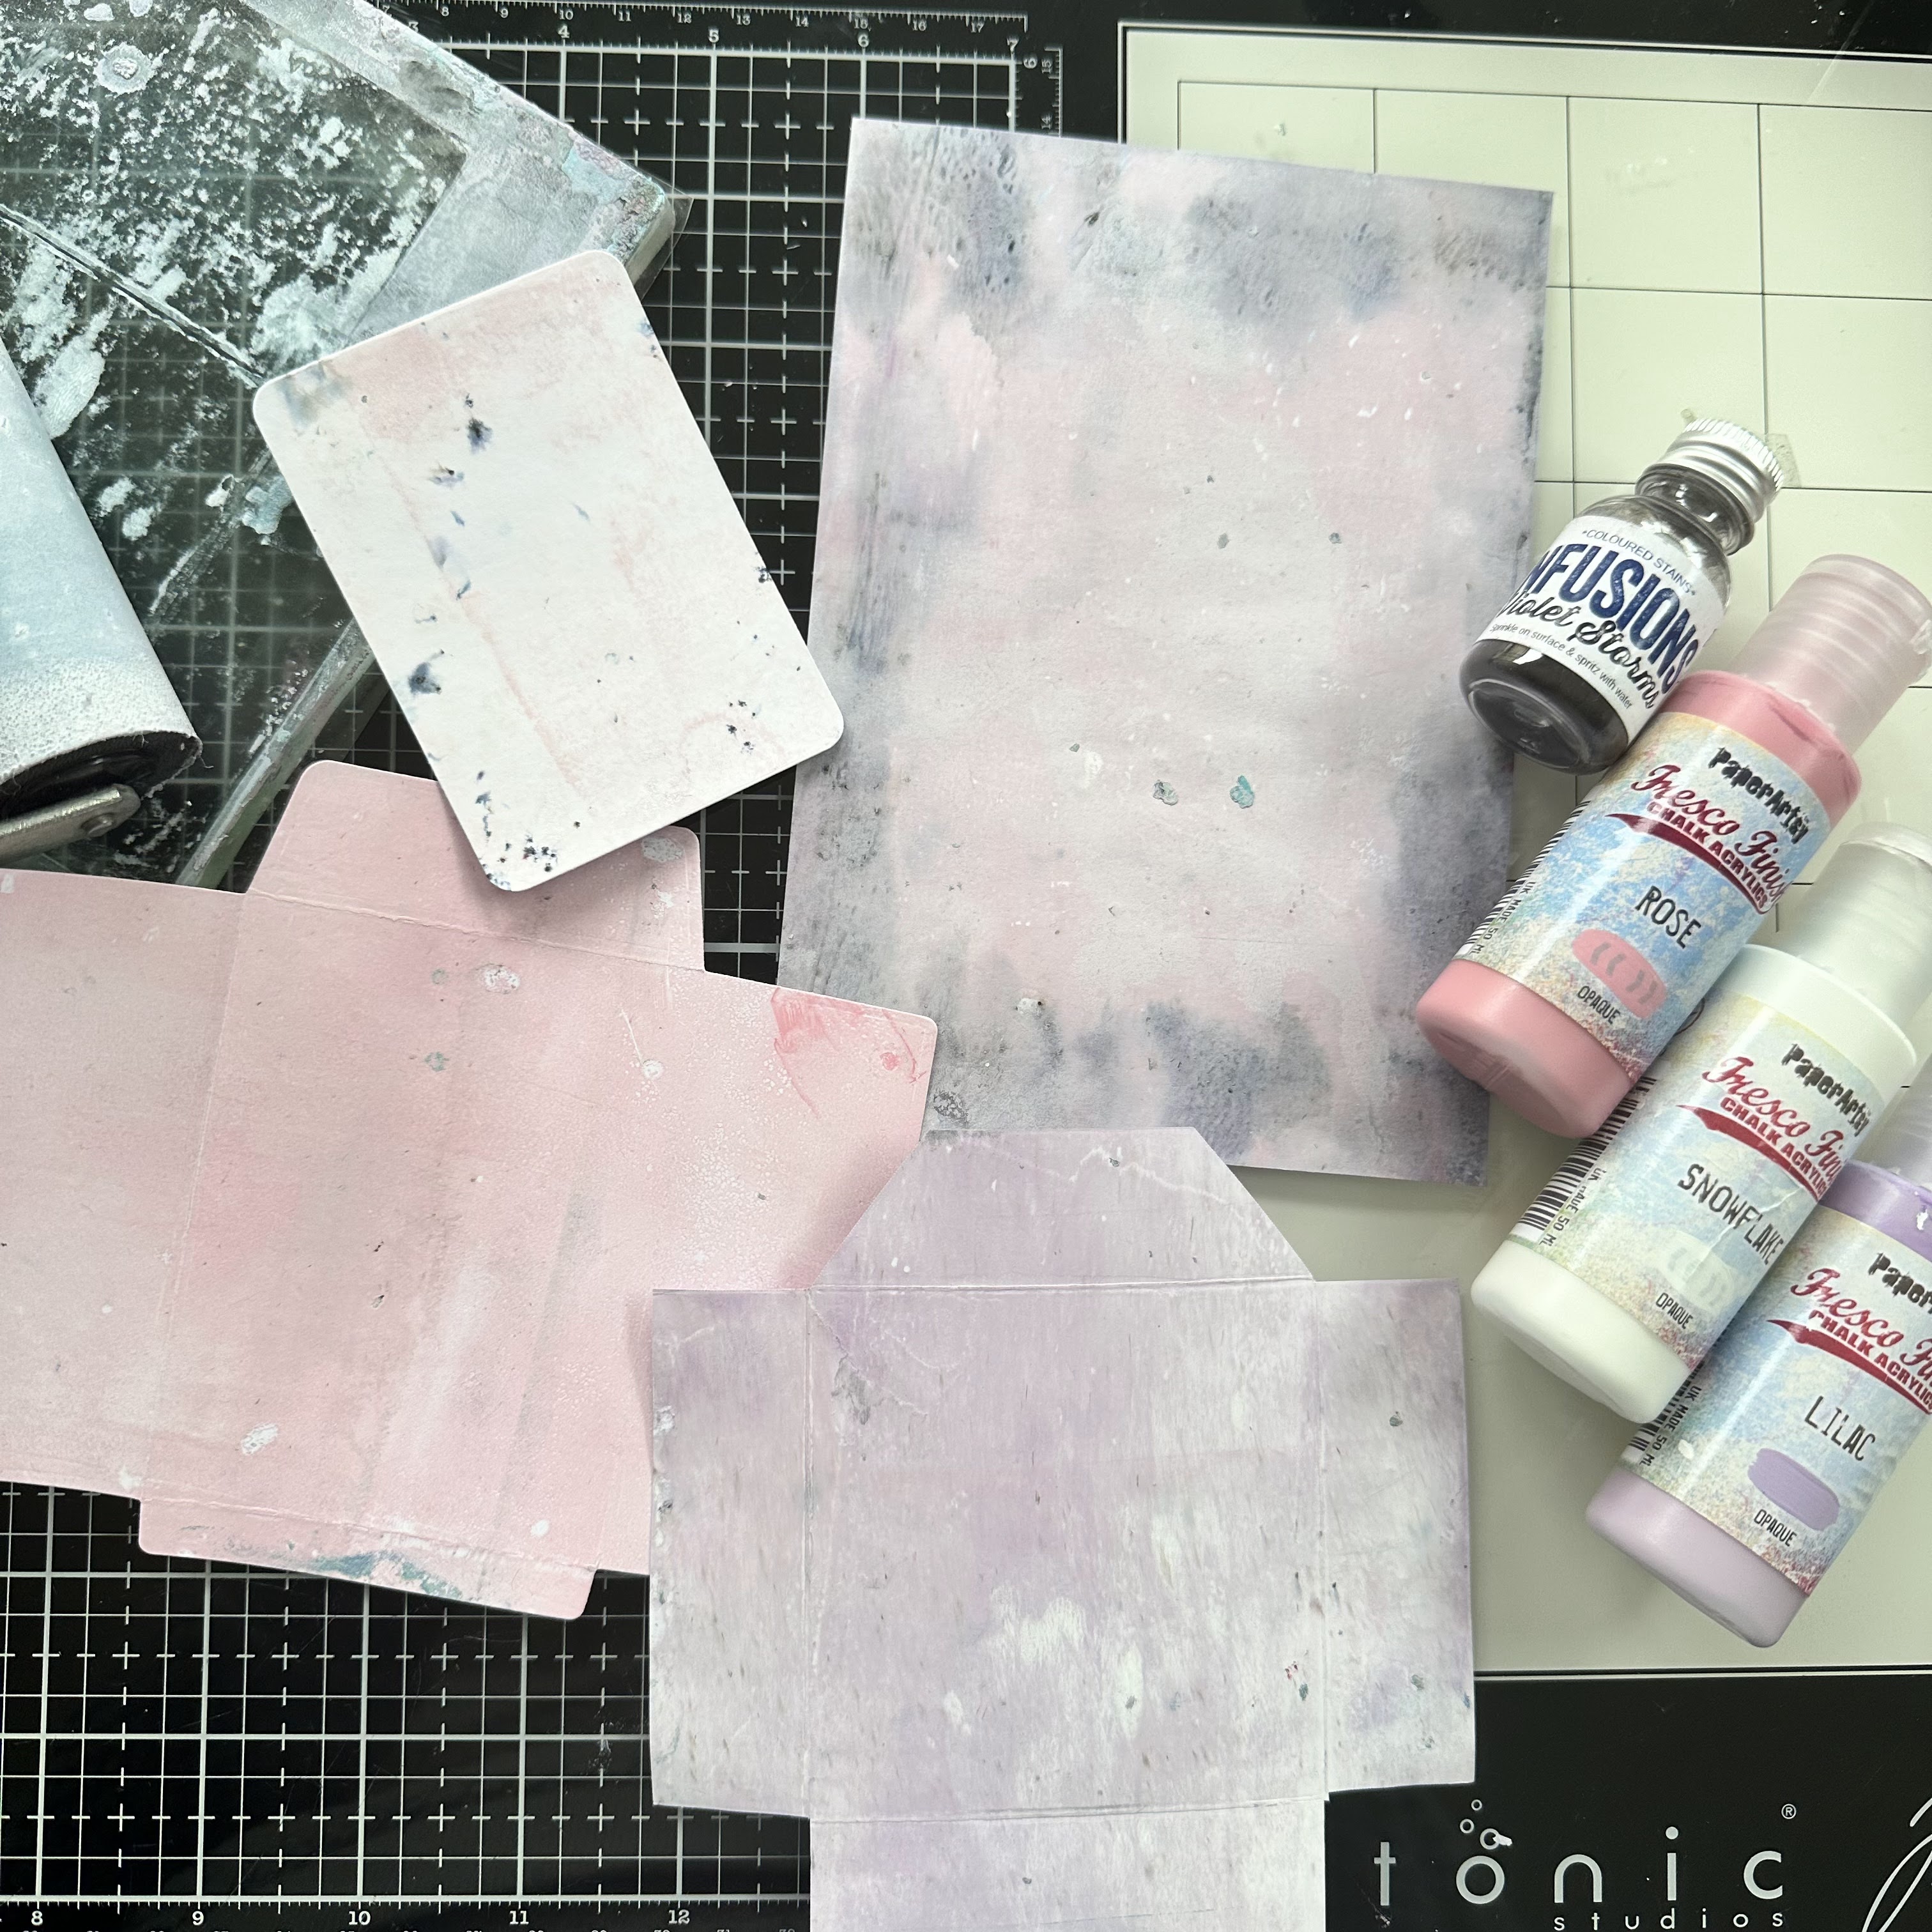
I pulled out some PaperArtsy goodies that I wanted to use in the make. I started with the stamps, selecting EM92, EM93, and EM94 to use for the main focal points. Next I selected three Fresco Finish Acrylic paints in Snowflake (FF15), Rose (FF29), and Lilac (FF11) and a bottle of PaperArtsy Infusions in Violet Storms (CS11). I also decided to use some Alison Bomber Printed Tissue (PT08) for some background details.
Then I gathered my card and my gel plate and got started.


I decided to make a card with an envelope front, to hold the gift card. I took out a 7x5”card blank from my stash and then cut another piece of card to layer as the main background piece (6.75x4.75”). I also took the envelope and card from the Tim Holtz, Collector die set from my stash (you can make your own if you don’t have the die) and cut a pocket envelope using the template above.

With the various card elements prepped, it was time to get messy with the gel plate. For the main background piece, I decided to sprinkle some infusions on the outer edge of the gel plate and spray with a mist of water before pulling an initial print.

I then added blobs of the three colours of Fresco Finish Acrylics to the gel plate, before spreading them out with the brayer and pulling a second print. This filled in the white space and muted the vibrancy of the infusions layer.

I then printed the envelope and gift card, using the leftover paint on the gel plate, and variations of lilac, rose and snowflake, with a sprinkle more infusions, but this time layered on top of the paint for a different, more speckled effect.


With the gel printing complete it was time to add the details. I started off with the background piece, adding some of the text from the tissue paper down one side.

Next up was the gift card envelope. I stamped the image from EM92 in Archival Jet Black Ink, and coloured the leaves in coloured pencil, which layers really nice on top of the Fresco Finish paint. I then highlighted the berries with a white posca pen, to ensure that the white stood out against the pink background.

I finished the envelope by adding some gold building flakes to the outer edges.

Then I finished the gift card, stamping the image from EM94 and colouring. I also re-stamped the sentiment at the bottom left of the image on white card, fussy cut and glued on top, to help the sentiment stand out against the background.


With all the paper pieces completed, it was time to assemble the card.


I added the main background layer and added some stitching to the edge. I then added some fabric for extra texture and to add some contrast between the background and the gift card envelope, before gluing the envelope pocket in place and tucking the gift card/envelope in place.

I had so much fun making this gift card. The combination of printing for the background and layering with stamping and coloured pencil, is so simple but so effective. Throwing in some collage, fabric and gold highlights, just helps to set off the different paper elements and pulls the whole project together.
I hope you feel inspired to give this project a go. It would be so easy to switch up the images used and create a whole different them for a birthday, anniversary or other special occasion. And nothing beats giving someone special, something handmade!
Wishing you a happy, creative week.
Victoria x

Instagram: www.instagram.com/victoriawildingcreates
Facebook: www.facebook.com/victoriawildingcreates
Pinterest: www.pinterest.com/victoriawildingcreates


1 comment:
So very pretty - love all the envelope-tucking and lace and details. And it's so lovely to see those minis used in a not-Christmas setting. Lovely, lovely work.
Post a Comment