Hi everyone,
Liesbeth here with you today. At this topic Vintage PaperArtsy Stamps we focus on the beautiful vintage style PaperArtsy collections! Read everything about the history here at the Blog. When I first started stamping about 18 years ago one of my first stamps was PaperArtsy Ink&The Dog Buttons, because I also like sewing very much. After that I bought more and more of them and I still love them very much! The vintage designs never age!
The size of most Ink&The Dog stamps are small, perfect for small cards, ATC's and ...this tiny houses. And perfect to unleash your imagination!
When I made this picture I didn`t know yet what I would end up with...as always. But some ideas were already there: For our current quarter theme ,Glazed' I used some natural mica sheets, a nice, glossy and vintage product. I also used some PaperArtsy Fresco Paints and Mattints, and more I guess. For the houses I used a Sizzix-Tim Holtz die, called Tiny Houses. And the main material this time of course is the PaperArtsy Ink&The Dog stamp sets! Wings plate 1 (WGS1), Wings plate 2 (WGS2), Wings plate 3 (WGS3), Wings plate 4 (WGS4)
To keep everything clear of how I made the 5 houses I show you the first two houses I made. First I cut out a small one and a big one out of white cardstock. If you don't have a die you probably can drew them yourself.
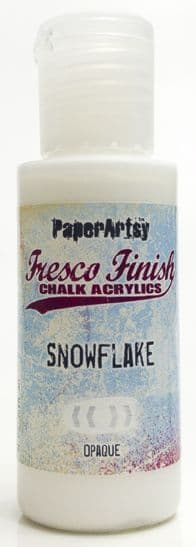
To create some texture, vintage feel and colour I tore out some small pieces of old bookpaper, music sheet and an old map and glued them on the cut out houses. I covered the two roofs with sheet music paper. I softened the tone a bit by adding some white Fresco paint here and there: PaperArtsy Fresco Finish- Snowflake.
Stamping, yesss! My goal was to use almost every stamp of the stamp sets! I used PaperArtsy Ink&the Dog Wings 3 for the small house and PaperArtsy Ink&the Dog Wings 4 for the bigger house. The ink I used was Ranger Archival: Jet Black, Sepia and Coffee. I also used Tsukineko Memento Luxe: Pistachio, the beige ink. It's not in the picture.
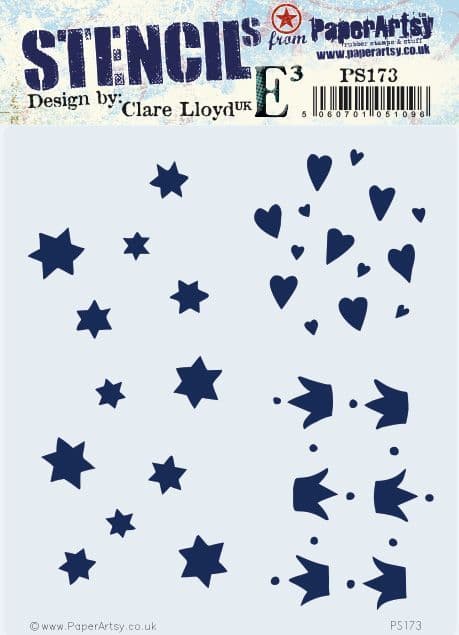
It needed a bit more, some extra texture.., so I made some beautiful stars here and there with PaperArtsy Grunge Paste and a stencil (173 PA Stencil).
This is what I did so far. I think the different images need a kind of connection..and colour of course!
My idea for connecting the different images was using some paint: PaperArtsy Fresco Finish: Sand. Using my finger I added a bit here and there on the houses.
I used the amazing PaperArtsy Mattints as a paint this time! A great vintage and transparent look is guaranteed! I painted bigger pieces with Mattints: Glow and Nutty, and some small details with the blue Dragonfly. I coloured faces and skin with a pale pink marker and cheeks with a red colour pencil.
Almost time to put the houses together! First I used some Distress Ink: Walnut Stain to sponge the edges of every piece brown. With pieces of mica and strong glue (Glossy Accents) I covered the roofs. After that I built the housed by sticking the glue strips together.
And..I glued the roofs onto the tiny houses with tacky glue.
And here both houses pose in front of ,their own' stamps, the stamps they are made from!
In total I made five tiny houses as you can see on some pictures. Also this special one with a niche!
Therefore I cut an arch out of the front of the house as shown here. I stamped the woman two times on a seperate piece of white cardstock with black ink, one to cut out the woman, and one to cut out the extra butterfly. I also coloured and stamped the inside of the niche/house before putting things together.
The final finishing touches I did was adding a tiny bit of gold wax, I rubbed a bit onto the stars and at the edges, and dots with a white gel pen on the very tiny branches.
And this is the result: the five tiny houses in a row!
A detail. Here you can see how beautiful detailed the Ink&TheDog stamps are, with delicately lines!
A glimpse between two houses!
One of the mica roofs.... GLAZED!
Creating this kind of vintage project is always so much fun! I love to make new things old, and the amazing vintage style PaperArtsy Ink&TheDog stamps are working so well for a good result! It was the first time I used Mattints just as a paint and I'm very happy with the way it turned out.
Hope you like it to and give the vintage style a try yourself! Enjoy!
See you next time,
Liesbeth
Blog: Liesbeth's Arts & Crafts
Facebook: Liesbeth Fidder-de Vos
Instagram: liesbeth_fidder
May 24-25-26 2024: I will teach 6 different workshops (stamping techniques) in Kouvola, Finland. Info HERE


Oh Liesbeth...these are absolutely adorable! I love everything about them...The colours and the stamp theme works so well together on the houses :)
ReplyDeleteWhat a beautiful house you made.
ReplyDeleteAnd a great tutorial.
Liesbeth, this is such a wonderful make with all the stamped houses, i love every detail of it!! And the woman in display, gorgeous. A magnificient Liesbeth creation. Thanks for sharing! May i ask where you can purchase the natural mica sheets in NL, lots of greetings Nicole
ReplyDeleteThese are so fabulous!
ReplyDeleteAlison x
They are so nice, I'm going to try it my way, I have so many stamps.
ReplyDeleteThey are so nice, I'm going to try it my way, I have so many stamps.
ReplyDelete