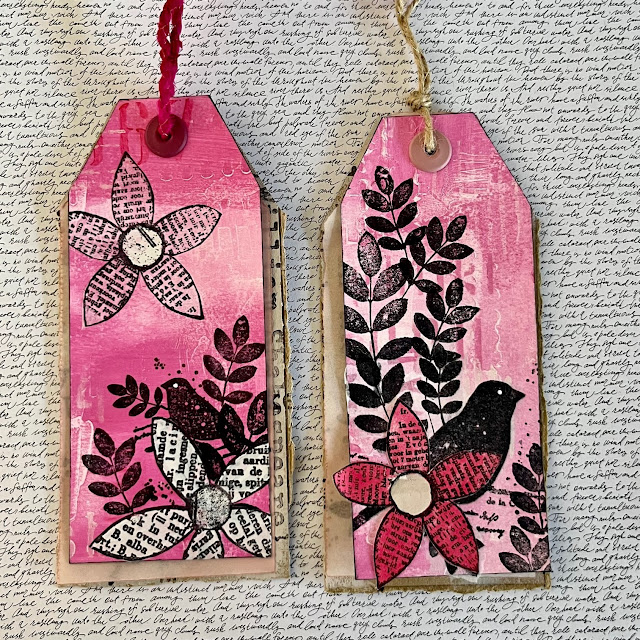
No project would be complete without adding a little gesso, well...for me anyway...I love the way it can allow you to not only add texture but play with the range of colour because of it. Here, I used an old garden centre loyalty card which I had snipped triangles out of to drag through my gesso. I also used what collected on the ends of the triangles as little dots to press onto my paper. I used 250gsm watercolour paper for this layer.
I cut this pink painted top layer slightly smaller than the cardboard layer so that it was obvious that the tag was multi layered when I assembled it.
I was going to add a eyelet through the whole three layers but I decided that it would work much better if I only popped the eyelet through the top layer. It would make it far easier to write on the tracing paper layer before adding it to a gift. It would also allow me to fan the tag to show it was multi layered to display.
I printed the focal points for the tags onto tissue papers and recycled cartridge papers and painted them using the same lipstick red, cloud 9 or vintage lace. I did try embossing parts but today that did not work for this...I only mentioned that because my embossing pad somehow made a guest appearance on my workbench...
After gluing the focal points on, I added some free motion stitched detail on a couple of the tags...


No comments:
Post a Comment