

Hi everyone, Keren Baker here with you today.
I'm always on the search for an unusual substrate to create with and whilst on holiday this summer I came across a fan in a charity shop. It was a bit broken at one end and they only wanted £1.50 for it. When this Alison Bomber topic came up, it felt like the perfect pairing. Something with meaning and elegance to accompany Alison's beautiful artistry.


We're in the throes of everything autumnal. I'm a sucker for a pumpkin spice latte and choc chip pumpkin loaf. So my thoughts naturally went to more autumnal colours that also tied in with the stamp sets that I chose.

This original fan had script on one side and a tree with blossom on the other. I was intrigued what the words meant. 'and make a morning' was a far as I could discover. The torn edges meant I felt ok to take it apart. If only I knew what a challenge this would be!

I had a some rice paper left over from some gel plate printing. Its partial translucency and delicacy felt like exactly the right substrate to use for the fan. I started by tracing the outline of the fan so I could create the right shape. You need to spread it out and press gently to get the correct shape.

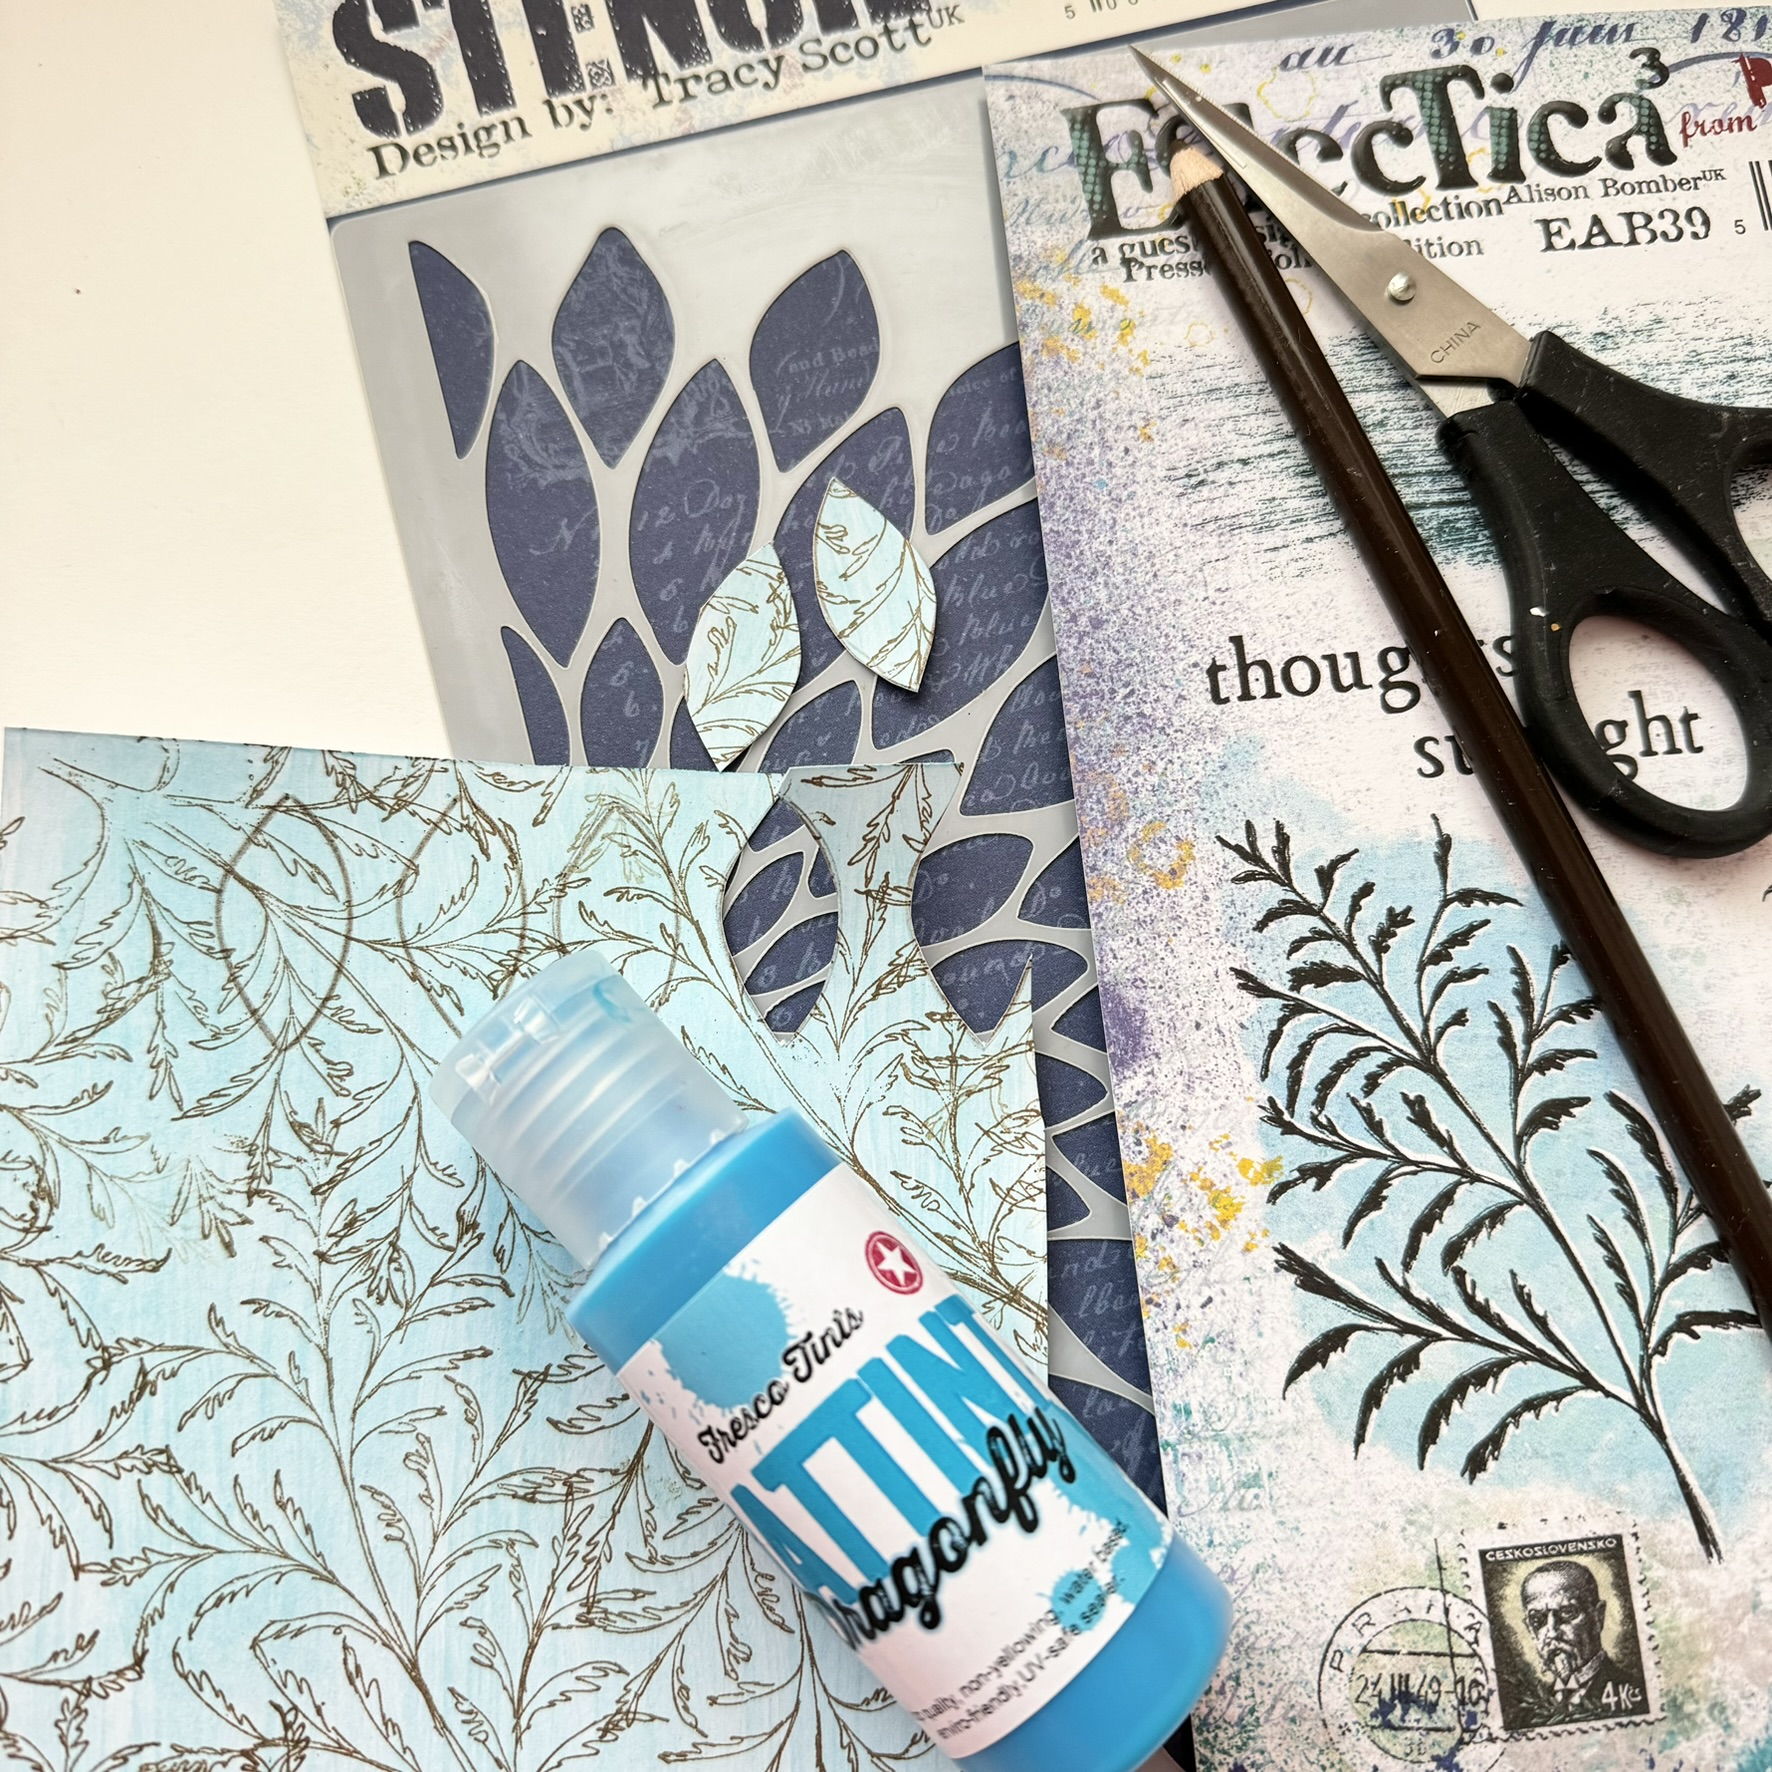
Just like the fan, I wanted to 'fan' the floral images out around the shape. I used Stazon as I was going to use slightly watered down Fresco Finish paint and so wouldn't have an issue with ink running. I used two Alison Bomber sets; EAB31 and EAB32.


Using the smaller floral images with the bigger ones meant I could get enough variety in the stamping.
Now I needed to add colour and substance to give enough weight to the basis for the fan.

Knowing that one layer of rice paper would be too flimsy, I wanted to add a second layer. I also wanted to play with its transparent qualities so adding some text (which should have been alternate but I wasn't concentrating!) and little splodges of colour. The colours I used were Lawn, Slimed, Butternut and Wisteria.

Here's where a little organisation comes into it's own. What I should have done was to measure the gaps between the spokes before I removed the original paper- or traced the gaps or done some maths. Instead I winged it which did work but not as precisely as I'd have liked. It's really important that you find a way of securing the spoke's position before removing from the base. I found that sticky tape worked perfectly.

Now you need to adhere them together. I used PVA with a sponge applicator although I'll come to explaining why next time I'd choose differently, later.

Lots of our creative hobbies have tools, and this seam roller that I use in sewing came in handy here to help spread the glue well on each spoke. It also helped get a little pressure between the spokes to attach the two rice paper shapes together. However, it did show a little unevenly once dried and I would recommend that if you have a spray adhesive, this would give a more even and less obvious result.

The fan seemed to need more. I came up with the idea of partially adding colour to the spokes- and hoping that the opening and closing wouldn't rub it off. I marked where to stop painting along each spoke using washi tape.

Now came another tricky part- closing it up and getting the folds into place. If you watch the reel on Instagram, you can see how I did it, but once you've got it folded together, you do need to make the folds a little crisper by pinching them with your thumb and forefinger so the end result looks better.
It did look like a proper fan!
![]()


You can paint the spokes. Interestingly, they were supposed to be covered with Slimed so I started with a white base, but it reacted with the finish or wood and not matter how many layers of paint I added, the maroon dye came through, so I just went with the pink.
I would have liked to have added an outer stripe. I thought about folded over washi tape but wondered if it would make the folds too bulky. Some lighter paper would be fab that was less transparent but not too thick. It would make the glue showing through less of an issue too.
I would have liked to make a different fan - one that remained folded out, adding windows and actual dimensional elements. It would make a really interesting home decor piece. I wanted to add some stamped linen buttons and a tassel but it seemed complete as it was, so I left it.
This would make a fun project to do with friends and maybe we should bring back the art of understanding each other's feelings by how people were holding or moving their fans!
Keren x


