Hi everyone, It's
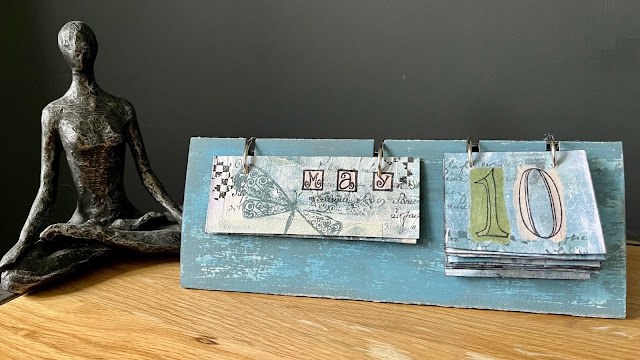
Floss with you again today and I'm here to share an exciting project I have just designed using the star of the current topic; Surfs Up. The challenge set for me this time by PaperArtsy was to use Surfs Up with a grey so that I could explain and demonstrate the use of 'tones' of Surf's up to you. Mixing Surfs Up with Slate gave me some wonderful tones to play with on my gel plate to create master boards ready for making pages for my 'Any Year Calendar'.
It turns out I learnt a few things along the way and I hope that you enjoy this project as much as I did creating it.
There were several things that I needed to do before I started sharing my 'any year calendar' with you as it was still at the idea stage and so it needed a prototype. But first things first, I needed to do some colour mixing/testing to explore the 'tone' terminology.
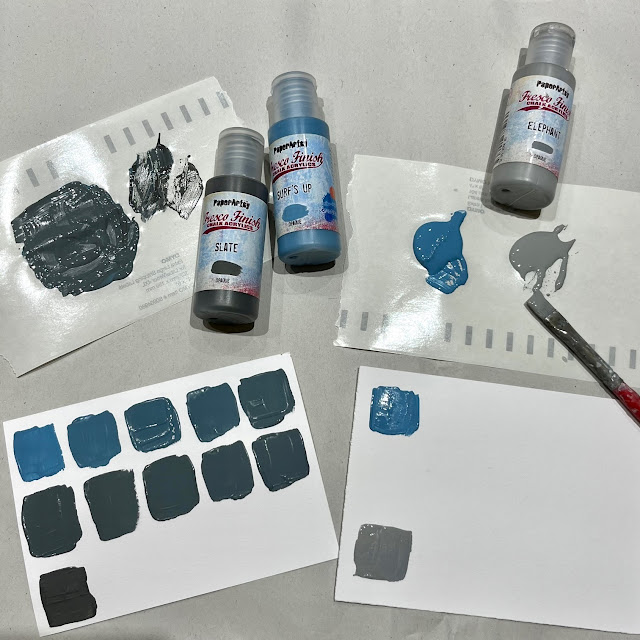
I snaked my way across the page and back...it probably would have been more helpful if I'd have used a longer piece of card and did my colour mixing in a straight line to show the tonal increments for your reference, and so apologies for that. I think I also could have added the slate grey in smaller amounts to give me more lighter or closer variations within the Surf's Up end on the page. What was interesting though, was that I did find that the darkest tone would not exceed that of the slate acrylic paint. I found this was the same when I trialled elephant too.
So to clarify the use/definition of the word TONE; Tone is a colour created by adding grey to the
starting colour. Tonal colours are often considered more pleasing to the eye as they are more subtle. Generally speaking almost every colour we see day-to-day has been toned to some degree. As you can see on the example I found below, the toned colours are slightly softer on the eye as the grey takes away the brilliance of the original colour.
I chose to use PaperArtsy fresco finish acrylic paints Tinned Peas (
FF55) as I liked the similarity of its colour strength, Vintage Lace (
FF18) for its contrast and Slate (
FF84) to mix with Surfs Up (
FF146). I added those to my colour swatches and mixed a little of all the paints together which made an interesting putty grey colour which I loved. I often mix a little of all the colours I use together as I think it helps make all the colours work together nicely.
Before I started prototyping the calendar stand, I needed to work out the size that the date and month pages would need to be so I printed a few different layouts using the Squiggly Ink stamp Love and Kisses Plate 4 (
SILK4EZ) for the letters and Ding Dong Plate 9 (
SIDD9EZ) for the numbers. I started looking at colours and how I'd fill each box and letter, whether to be neat and stay inside the box lines, or whether to overflow the edges.


Using these stamps gave me the dimensions 120mm x 45mm for the month pages and 70mm x 60mm for the date pages. I looked at two calendar stand possibilities after doing a few sketches on my 'under paper'. I always have paper not a mat or glass under whatever I am working on as it allows me to jot notes or doodle ideas onto it whilst working away on other things. It also has a wonderful way of building layers without trying and often ends up as a wonderful collage piece used elsewhere...enough of that; sorry I digress...The first calendar idea allowed me to potentially have three pages to turn but it meant that I would've had to have had a slot for one set of the pages which would need to be slotted through the face every time I made a date change which was fiddly, so I ruled that one out!

My second idea was to make the stand oblong and have only the month and the date pages. I found that by making the month slots deeper, they would hang lower to make it more visually appealing. This gave me a calendar surface of 240mm x 90mm.
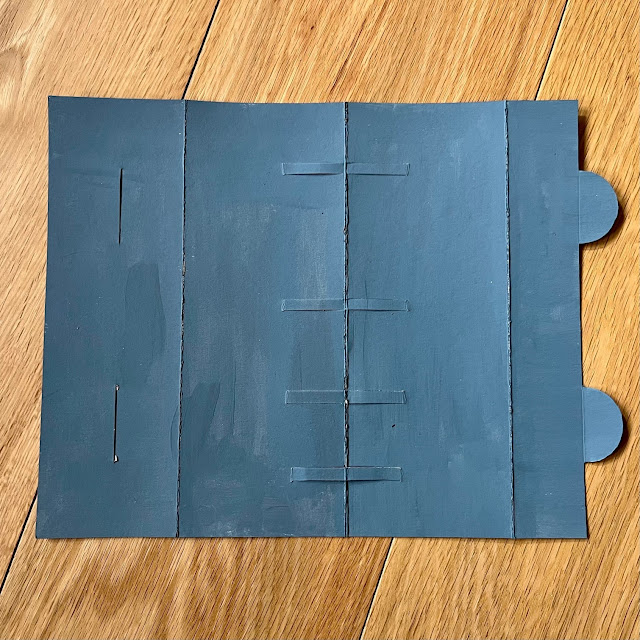
I marked the base out onto 30gsm card; it measured 315mm x 240mm overall. The picture below shows sections left to right as 75mm x 240mm, 90mm x 240mm, 90mm x 240mm, 40mm x 240mm and the two half circles were made in the remaining 20mm x 240mm being 40mm in from the edges with a diameter also of 40mm. Score the three fold lines. The slits were made by folding it into a triangle and marking where the semi circles needed to go to hold the base together. Cut these with a knife. The slots will be explained later. I gave the surface a base coat of acrylic.


Stunning your flip calendar! Demo video is great. xx
ReplyDeleteAbsolutely gorgeous your calendar. Lovely to see the process. The colours anda stamps are great. This is amazing.
ReplyDeleteHave a very nice weekend
Big hugs, Caty