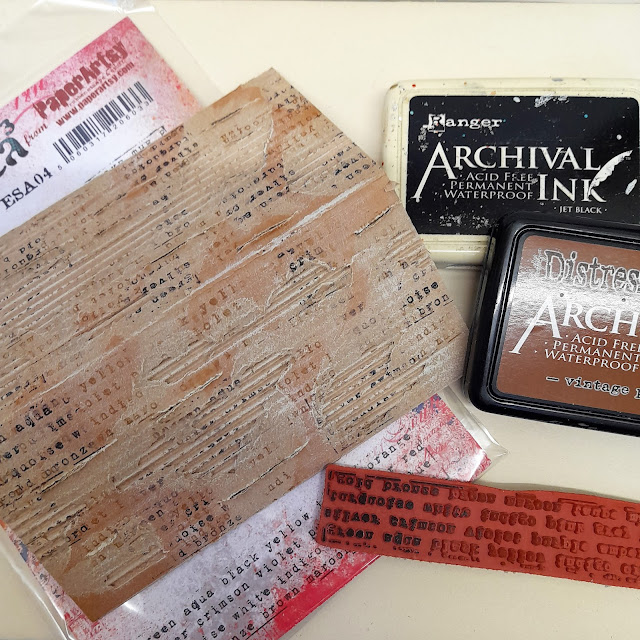
Whilst the Grunge Paste was still wet I sprinkled on some PaperArtsy Rusting Powder (
RP45) making sure to cover all the paste. The Grunge Paste dries quite quickly so I was soon able to brush any excess Rusting powder from the paper towel and into a small container, I didn't want to waste any of this wonderful powder. Allowing the Grunge Paste to dry completely overnight makes it easier to brush off the last of the excess with a fan brush.
The next part of the technique is the most exciting and I always look forward to seeing the results. The excitement never fades no matter how many times I do this.
With the paper towels still in the tray, sprinkle some vinegar over the coated Grunge Paste. I tend to use inexpensive cider vinegar, but any vinegar works. I suggest working in a very well ventilated room as the vinegar and powder combo can be a little smelly. Leave the papers to develop and also dry overnight. Come back to fabulous rusty papers the next day.
If for any reason you don't get the results you wanted it may be because the vinegar evaporated too quickly and wasn't in contact with the powder for long enough. Just repeat this step and try to keep the tray in a cooler place. For the powder to rust it needs to be damp, and the acid from the vinegar speeds up the rusting process. So, bear in mind dry rusting powder won't rust, damp rusting powder will!
Once the papers are completely dry the separate layers (usually 3) can be pulled apart starting at the edges. This will give you lots of thin sheets and varying degrees of rustiness. Obviously the top layer will have all the chunky texture from the grunge paste, but the lower layers will have rust and interesting marks too.
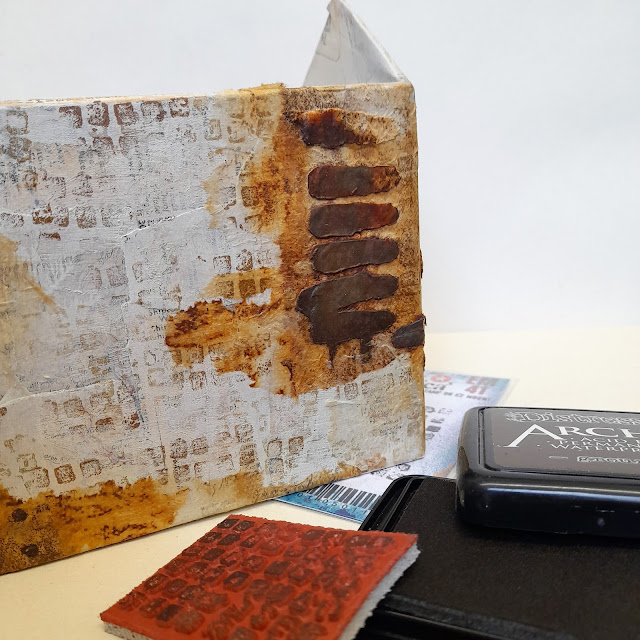
Before I started to add the rusty texture to the walls of the shack I wanted to add some stamping for visual texture. The PaperArtsy Mini by Seth Apter (
EM41) looked ideal.
The squares reminded me of a stone wall. I used my Ranger Archival Distress - Vintage Photo ink pad and added random stamping to all the walls. I love this Mini and I can see that it will become one of my favourites.
Once the paper towel layers were separated it was time to add the lovely grungy texture to the walls of my building. The paper tears easily so areas can be selected, or even single strips of the rusted texture. If you are nervous about just tearing into it, use a damp, fine paintbrush to mark out the area you wish to separate and whilst the paper is wet, just pull gently and it will tear along the damp edge.
When adding the rusty textured paper to the walls I concentrated on the corners, wrapping it around some corners for continuity. I didn't want to cover all my initial layers of map pages, paint and stamping. The paper towel adhered easily with matte medium which dried quite quickly and kept the matt/natural look of the building.
As you can see in the picture above, I also added some of the plainer rusty paper, this gave a more cohesive look again. To make the edges blend even more I stamped again using the Seth Apter Mini (EM41) but this time in Ranger Archival - Ground Espresso. This added more depth of colour too.
I was finally happy with the amount of texture on the building and the roof, but of course it needed some finishing touches such as a door and windows.


OMG Mags. This is seriously the cutest thing in the world. It's so easy to miss placed one of these minis. Now they can have their own home! I think I'm going to have to make one. Thanks for sharing your wonderful process!!!!
ReplyDeletefabulous Mags!
ReplyDeleteWow. Fabulous and useful too! I love the way you created all the texture, the roof, and the rusty accents.
ReplyDeleteThanks so much for sharing your process with us.
Great idea Meg.
ReplyDeleteSo brilliant to have you on the team, Mags, and what a wonderful debut project. Your trademark rusty grunge works perfectly with Seth's stamps, and this little storage shed is so inspiring. Have fun playing with all those minis now they have such a lovely home.
ReplyDeleteAlison x
Mags, This is such a cool project! Thank you for the blog!
ReplyDeleteMags this is fantabulous.
ReplyDeleteLuv luv luv it.