I've recently been looking at
Catharine Ellis and
Caitlyn Irwin and enjoying learning about dyeing fibre and fabric with natural elements like onion, pomegranate, eucalyptus and more. So although I wanted to sew with Seth's stamped images, I wanted to create a fabric colour and also try and fashion a different substance to sew onto (but more about that later). It turns out that onion skins and toilet paper actually make fabulous raw ingredients. Let me show you why!
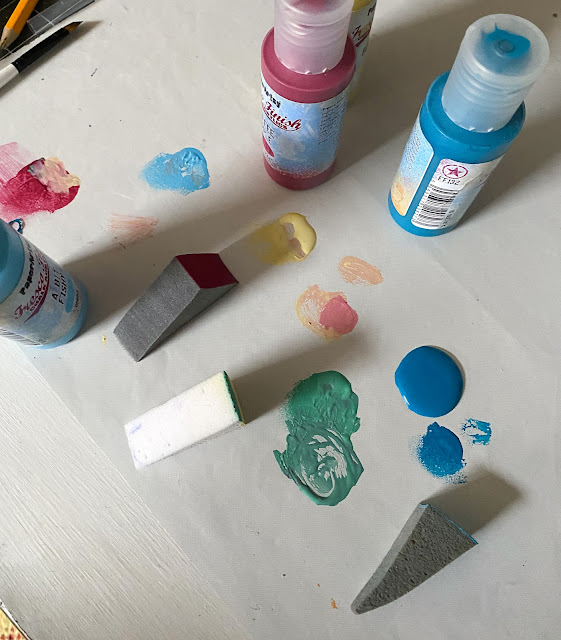
Here's what I started with- all (except the Gold) being Fresco Finish Chalk Acrylic paints in Seth Apter colours. I actually only ended up using these:
Butter, A Bit Fishy,
Green Patina,
Toffee Apple and
Stardust.
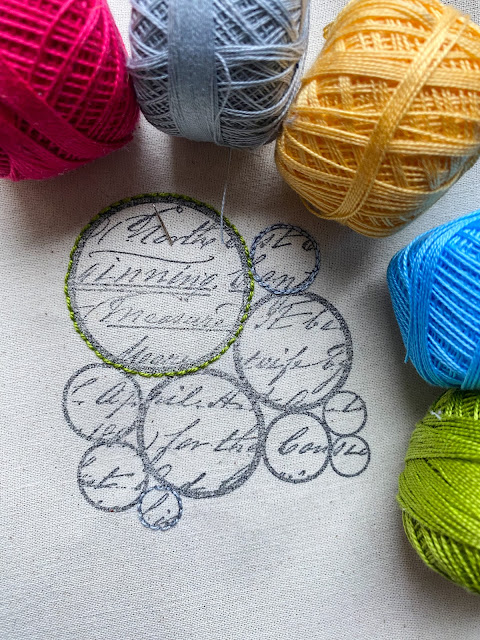
I also gathered toilet paper, threads, white mercerized cotton and onions.
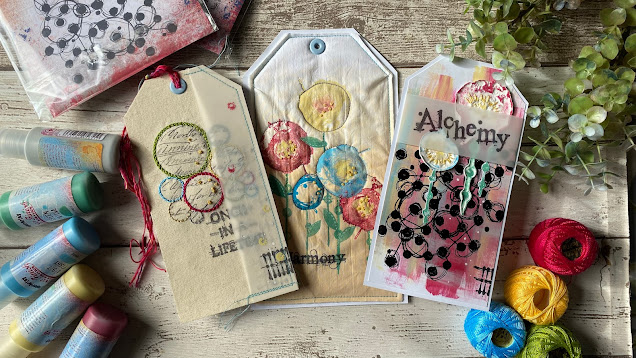
I decided against just one project, wanting a selection of tags to act as resource for when the mojo goes missing!
To begin with, it was time to dye! Remove all the onion outer papery skins (I mixed red and yellow onions but really wished I'd had more red and therefore ended up with a more pinky hue. Add enough water to cover the fabric you're using. As I was stamping onto the fabric, I chose mercerized cotton which allows for a more crisp end effect. In order to prepare the fabric, you need to 'scour' it by washing it on a rinse and spin. Now heat the water until you achieve a desired colour.
To keep an even colour, you need to strain the skins and if you use some muslin, you'll usefully also have that dyed for another project.
You'll end up with a coloured dye. Pop it back into your chosen boiling implement (which ideally will be stainless steel and reserved for dyeing) and heat again.
I wanted an ombre effect so only dipped a portion of the fabric and kept splashing up dye intermittently. The fabric will dry a slightly lighter colour so you need to keep that in mind. Dry naturally and you are ready to use it.
The other preparatory steps were to do some basic paper casting. Super easy and a great way of adding texture that's lightweight to any project. Grab these supplies:
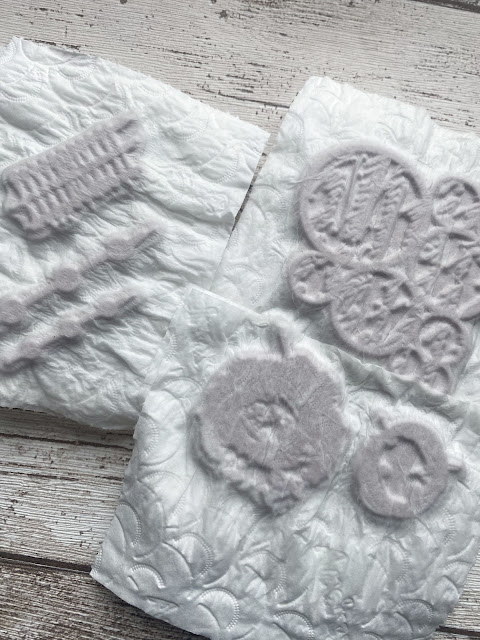
Spray water over the stamps. It's helpful to have them on an acrylic mount. Grab your toilet paper- it doesn't matter if it's embossed paper as it will flatten out. Add a layer, spray that, add another layer, spray that too. I used 3 sheets. Make sure it's really wet,(but not sopping) and gently push down into the grooves of the stamped image. Press carefully so not to tear the paper. Leave to dry.
Once totally dried, remove from the stamp, trim and you end up with some amazing casts. Just be mindful that if you add too much moisture or wet substance, it's likely to flatten again.
My fabric once dried was a little disappointing. I loved the ombre effect and the texture before ironing but didn't love the colour. I loved the paper casts and couldn't wait to use them. Now I needed to add these elements to the project tags and get sewing.


Karen, thanks for posting your adventure! I must say all 3 tags are pretty and yet the third large one is my fave. Why, because it says love to me and some people prefer the wonky to the perfect, lol. Keep going!
ReplyDelete