My challenge was to combine the Paper,seeds & Twigs-theme with the Wrougt Iron stamps in a shadow box...maybe a strange combination ;-), but I think it worked! So...based on the materials I just started!
This beautiful stamps from the Urban Snapshots collection are the starting point of my project!
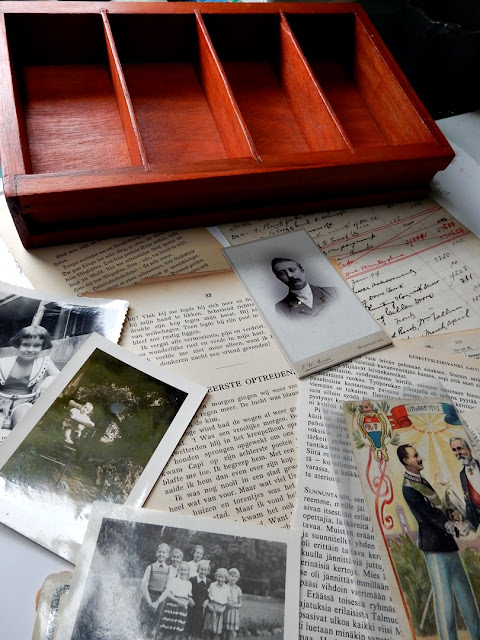
First after a big quest in our barn and in my craft room stash, I found very useful materials: I found an orange wooden box, a kind of letterpress drawer, (love it)! In my craftroom I found a several old bookpages (even hand written!) and pictures and antique photos, all perfect for this project. As I said before, I never have a ready plan... I just start, enjoy the process and see where it ends.
First I tried lots of ways to alter the old papers: here I 'stamped' with leaves, I covered them with gesso and printed them on the paper using a brayer.
I sponged the page(s) with Distress ink Vintage Photo and added some water: nice!
And I tried more: the same leaf printing with paint and I tried to stamp with a small slice of wood. I'm afraid I needed only a small amount of this altered papers, but I had fun all afternoon! ;-)
Now it was time to cover the inside of the box with a layer of gesso to make it light and stiff.
Because I wanted to keep a part of that wonderful orange color I decided to use PaperArtsy Fresco Finish Crackle Glaze. I covered the outside of the box with a thin layer.
After drying the Crackle Glaze I covered it with PaperArtsy Fresco Finish - Sand. I did a thicker layer for big crackles. Here at the picture you can see the beautiful crackles appear!
Using small pieces of the altered antique papers I covered the sides and top of the box. I glued it down with some gel medium. Not at the bottoms of the boxes, that's where I want to glue stamped cardstock.
I also made two tiny shelves out of a piece of greyboard and glued them in the box. For that I paid attention to the height of the two biggest stamps.
To make the papers come together nicely I sponged a bit with three colors of Fresco Finish Paint. (Fresco Finish-Sand, Fresco Finish-Terracotta and Fresco Finish-Taupe) I really love this color combination.
This is the old, weathered and worn result.
Time for the inside of the box! I decided to start with a nice background for the stamped pieces. I pressed the pads of Distress inks Vintage Photo, Gathered Twigs, Spices Marmalade and Crackling Campfire several times onto a craft sheet and I also scribbled a bit of Distress ink refiller Walnut Stain in between. I sprayed the surface with water...
...and I wiped a piece of white cardstock through to pick up the inks. The refiller gives it a dramatic effect, love it! I made 4 or 5 A5 pieces this way.
Finally...the stamps!
Using Tsukineko StazOn ink Jet Black, I stamped almost every stamp of the stamp sets. I didn't know exacly what I would use at this stage. (Left overs? No problem...they can be used for cards or other projects later on).
After measuring the boxes of the piece, I cut everything to the right size, a background for every box. The texts of the stamp sets are so decorative, so I decided to stamp them here and there with orange and red Distress inks. I heat embossed the edges of the pieces with gold embossing powder.
As soon as I was satisfied I glued the backgrounds into the boxes. The gargoyle and angels are still separate, I added them later. I bleached these three images a bit, that's where the purple colour comes from, magical! I thought about using this photo...
Bark, twigs, seeds, tiny bottles, berries and seed pods... my embellishments for this project.
This was my first attempt at putting everything together. It needed some changes and additions.
The insides of the pods were ugly and as every project needs a bit of bling bling, I added some rhinestones. I filled the bottles with different seeds from the kitchen.
Here I arranged everything, and glued it down as soon as I was satisfied. As a finishing touch I stamped the texts and the corner stamp onto the edges and I sponged the edges with brown ink.
Some details:
As I said before, the biggest challenge here was the combination of iron, Paris, gargoyles, angels and Paper, Seeds and twigs. Does it make sense?? When I look at the result, with a bit of imagination and fantasy, I think it does ;-) Anyway, it was an adventure to create this, so much fun! Why not give it a try yourself? Have fun! See you next time!
Liesbeth X
Facebook: Liesbeth Fidder-de Vos | Facebook
Instagram: liesbeth_fidder


Wowza Liesbeth this is a fantastic project!!
ReplyDeleteThanks so much! :-D
ReplyDeleteIt's wonderful. I love the colors, stamps, seeds, and twigs you used for the project.
ReplyDelete