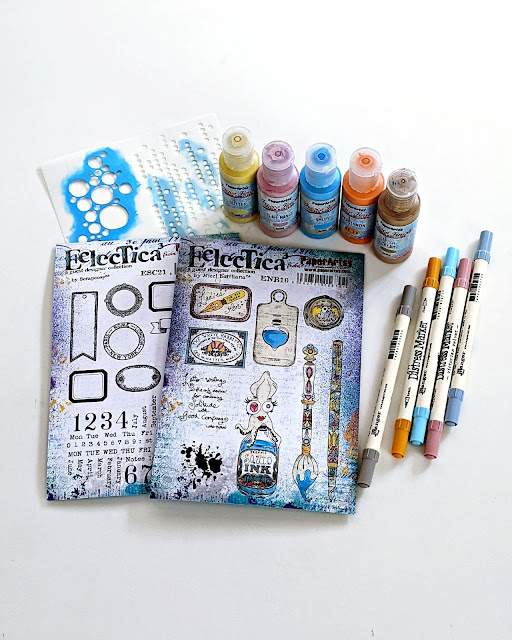
Hi everyone, it's Kate (Kate Yetter – Musings, Tea and Drippy Paint) with you today, and I'm here to share with you a stationery set.
Letter writing is one of my hobbies and I love writing on pretty paper. Lately, I have found it difficult to find stationery in the stores as letter writing is a lost art. I thought, "Why not create my own set with matching envelopes?"
I knew this was going to become a set of stationery, so I decided to keep the colors pretty and pastel. Some of the stamped images were very detailed so I chose coordinating colored markers for the small areas on the paintbrush and pen handles.
As this was mail art, I challenged myself to keep everything relatively flat. With the rate of postage nowadays, I don't want to pay through the roof for a thick envelope. My goal was to keep it simple yet pretty.
When choosing how to use the stencil, I thought it would be cute to have the squid blowing bubbles up the page. I ended up loving this stencil and using it throughout the set.
Who doesn't like to get a bookmark in the mail? A matching bookmark seemed like the perfect way to use this paintbrush stamp.
On the envelope below, I decided to use the bubble stencil again to create continuity throughout the set. To add depth to the bubbles, I used some pink.
On the envelope closure, I added the stamped seal, colored with markers.
Stenciling around the paintbrush added color and texture.
For the greeting card, I again used the two-toned bubbles and stamped script on top.
Stamping with paint is also an effective way to use paints and stamps together. Just remember to clean your stamp off right away.
To finish off the letterhead, I used an ink pen around the edges to add squiggles. I love adding this hand drawn border to tie a piece together. {NB Irish Cream is a discontinued colour}
To complete the bookmark, I stamped on top of the stenciled area to create more interest.
An area for the name and address was added to the envelope below.
Embellishments were made for the greeting card using stamped images, paints and markers. I also stamped, colored and cut out several circular motifs and layered them on top of the bubbles.
Below is the completed greeting card and matching envelope. This card was the only one where I layered embellishments.
I had so much fun putting this stationery set together. I never intended to make this many things but once I got started, I couldn't stop. While creating, I made an envelope that I had to throw out as it didn't match the set at all. That is what happens when I venture outside the chosen color palette. I like how everything turned out and I am in LOVE with those bubbles! I hope you saw how easy making your own stationery can be. All you need is paper, stamps and some color. You should give it a try!
Until next time,
Kate


These new Paperartsy designers are NOT healthy for my budget.
ReplyDeleteAnother crafty project that is right up my alley. I love stationary. I love to make my own cards. So, all my lovely stationary never gets used since my personal crafted cards take precedence. Now, I am presented with this marvelous example of a fun way to create, buy some fun stampsets and still involve my own "stamp" on the paper products! Kate - I love your bubbles, adding that bit of pink along the edge - striking! Sending a bookmark along with the card is FABULOUS - who cannot use a new bookmark? Loving the colorwork on that paintbrush and the pen! Now...who will get some new stationary besides me? The ideal gift for a couple of my friends who love to write letters/notes/cards. Merci, encore, Kate!
Super cool, Kate. Love the Squid Ink especially since I ate a restaurant with that name this weekend! GREAT ideas - TFS!!!
ReplyDeleteThis is really great Kate! I love the squid ink stamp set and the bubbles and your stationery is awesome, what a great gift to receive. Thanks for the detailed tutorial - great stuff! Elle/EOTC xx
ReplyDelete