I started with some simple inking with the masks - onto some card and some sponged paint onto to some scrap paper. I put together the A6 card below. The 4x4inch card is just 2 layers of distress ink / oxide, one on top of the other with a little water spritzed. I have used PaperArtsy Mini Masks PM007 and PM008 here.
I then started building layers. If you have a base layer of colour and then apply the mask and add paint, ink - the base layer will form the shape. You can do this with ink, but it is easier to layer paint.
The main project above was started with loosely adding paint to card in patches - it does not need to be pretty! I used PaperArtsy Fresco Finish Chalk Acrylics - Midnight, Captain Peacock, Bougainvillea and Snowflake.
I then took PaperArtsy Mini Mask PM009 - the grid and sponged with Snowflake in three places on my card - you can still see this clearly for the bottom two.
Captain Peacock and/or Bougainvillea were sponged using the large flower mask - PM002 - over the already sponged grid. Hopefully you can see this at the top. You can still see the grid in part, the flower in part and areas of the original base layer.
I found the secret here is to be quick and not worry about forming the whole image, it is just about getting the impression of it.
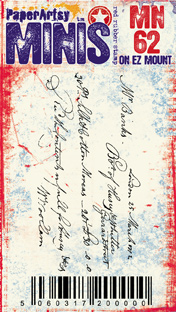
I made two of these backgrounds - things never look exactly the same! You can see below I added some stamping for the next stage. The mini circles are a border stamp on Eclectica Mini 18 (by Emma Godfrey). You may also be able to make out the script stamp - which I may have added before the paint sponging! This is Ink and the Dog Mini stamp 62.
My two samples have little differences - one is more blue, the other more pink - just how it worked out! I love how the splashes of the original base colour pop through the lighter sponged areas.
I added more light stamping in a few places and on one card lots of paint splatters. For one I also took a oil based pencil and loosely scribbled around the flower shape - however I think this was a mistake!


.gif)


what stunning cards, I love the colours and all the layers of inspiration!
ReplyDeleteLots of gorgeous layers. Love the embossing technique you used with the flower mask 😍
ReplyDelete