

Hi friends,
It's Amanda Pink from p1nkart with you for another 'With 3 Things' challenge post.
For this feature on the PaperArtsy Blog 3 identical items are sent to 3 members of the PaperArtsy Blogging team. Typically we will receive a stamp, a stencil and a couple of Fresco Paints.
We have no clue what PaperArtsy HQ is going to send, the whole idea of this challenge is to do something crafty in our personal style with these 3 items. We can incorporate other PA products into the mix if we feel it is necessary.
So let's take a look at what I received from PA HQ .....Kate Crane stamp set 1 (KC001), PaperArtsy stencil by Kate Crane (PS430) and PaperArtsy Fresco Finish Chalk Acrylics - Bougainvillea (FF93) and Limelight (FF48). What a great trio of goodies to create with! :)

Initially, I thought I'd work with only 'the 3 things' but as I began making I found to follow my creative muse/ style I reached for a few more: PaperArtsy Fresco Finish Chalk Acrylic - Tango (FF72), Smurf (FF100), Stone (FF59), Little Black Dress (FF19), Snowflake (FF15) and PaperArtsy Grunge Paste (GP190).

Today I've made a set of mixed media Art Panels. A bit of colourful, quirky, grungy, textural art to display around the home or art space.
I think they work well together as a set or as stand alone's. Let's take a closer look at them all together and as I bring this post to a close I'll share each of them individually.


Having been away from my art table for a while I was a little slow getting back into my creative groove so spent some time just playing around, getting messy (and making a mess! ;)) with all the PaperArtsy Fresco Finish Chalk Acrylics (mentioned above), various tools (brushes, gel plate, brayer, cling film) and not (as I am so guilty of) overthinking it! Time well spent as it provided the backgrounds I used for my art panels.

Let's see how I created these.....

I started with colour courtesy of PaperArtsy Fresco Finish Chalk Acrylics: Limelight (FF48) Bougainvillea (FF93), Tango (FF72) and Smurf (FF100) applied quite randomly and freely with some cling film to watercolour card. Don't ask me why I chose to apply the paint with cling film as I really couldn't tell you. I 'd like to think it was my creative sub conscious kicking in and telling me it would be messy and fun and it might help free up my usual over thinking and colour placement. That seems to be what happened so I'll go with that ;).

Time to add some detail and texture.

Firstly, some monoprinting with PaperArtsy's stencil by Kate Crane (PS430). This is one of my favourite ways to use stencils.

I brayered PaperArtsy Fresco Finish Chalk Acrylic: Little black Dress (FF19) over the stencil design, flipped the stencil over and with the heal of my hand pressed parts of the painted stencil design onto the backgrounds.
As you can see this creates a delicate outline, somewhat broken print while also giving contrasting areas of heavier black paint marks which add some grunginess that's in keeping with my creative style.


Moving on to some ink stamping.

The 'wordy/ circle' stamp from Kate Crane stamp set 1 (KC001) is a great stamp for adding background detail. I used it with a selection of Ranger Archival inks similar in colour to the PaperArtsy Fresco Finish Chalk Acrylics as I didn't want this stamping to be too 'loud and proud'.
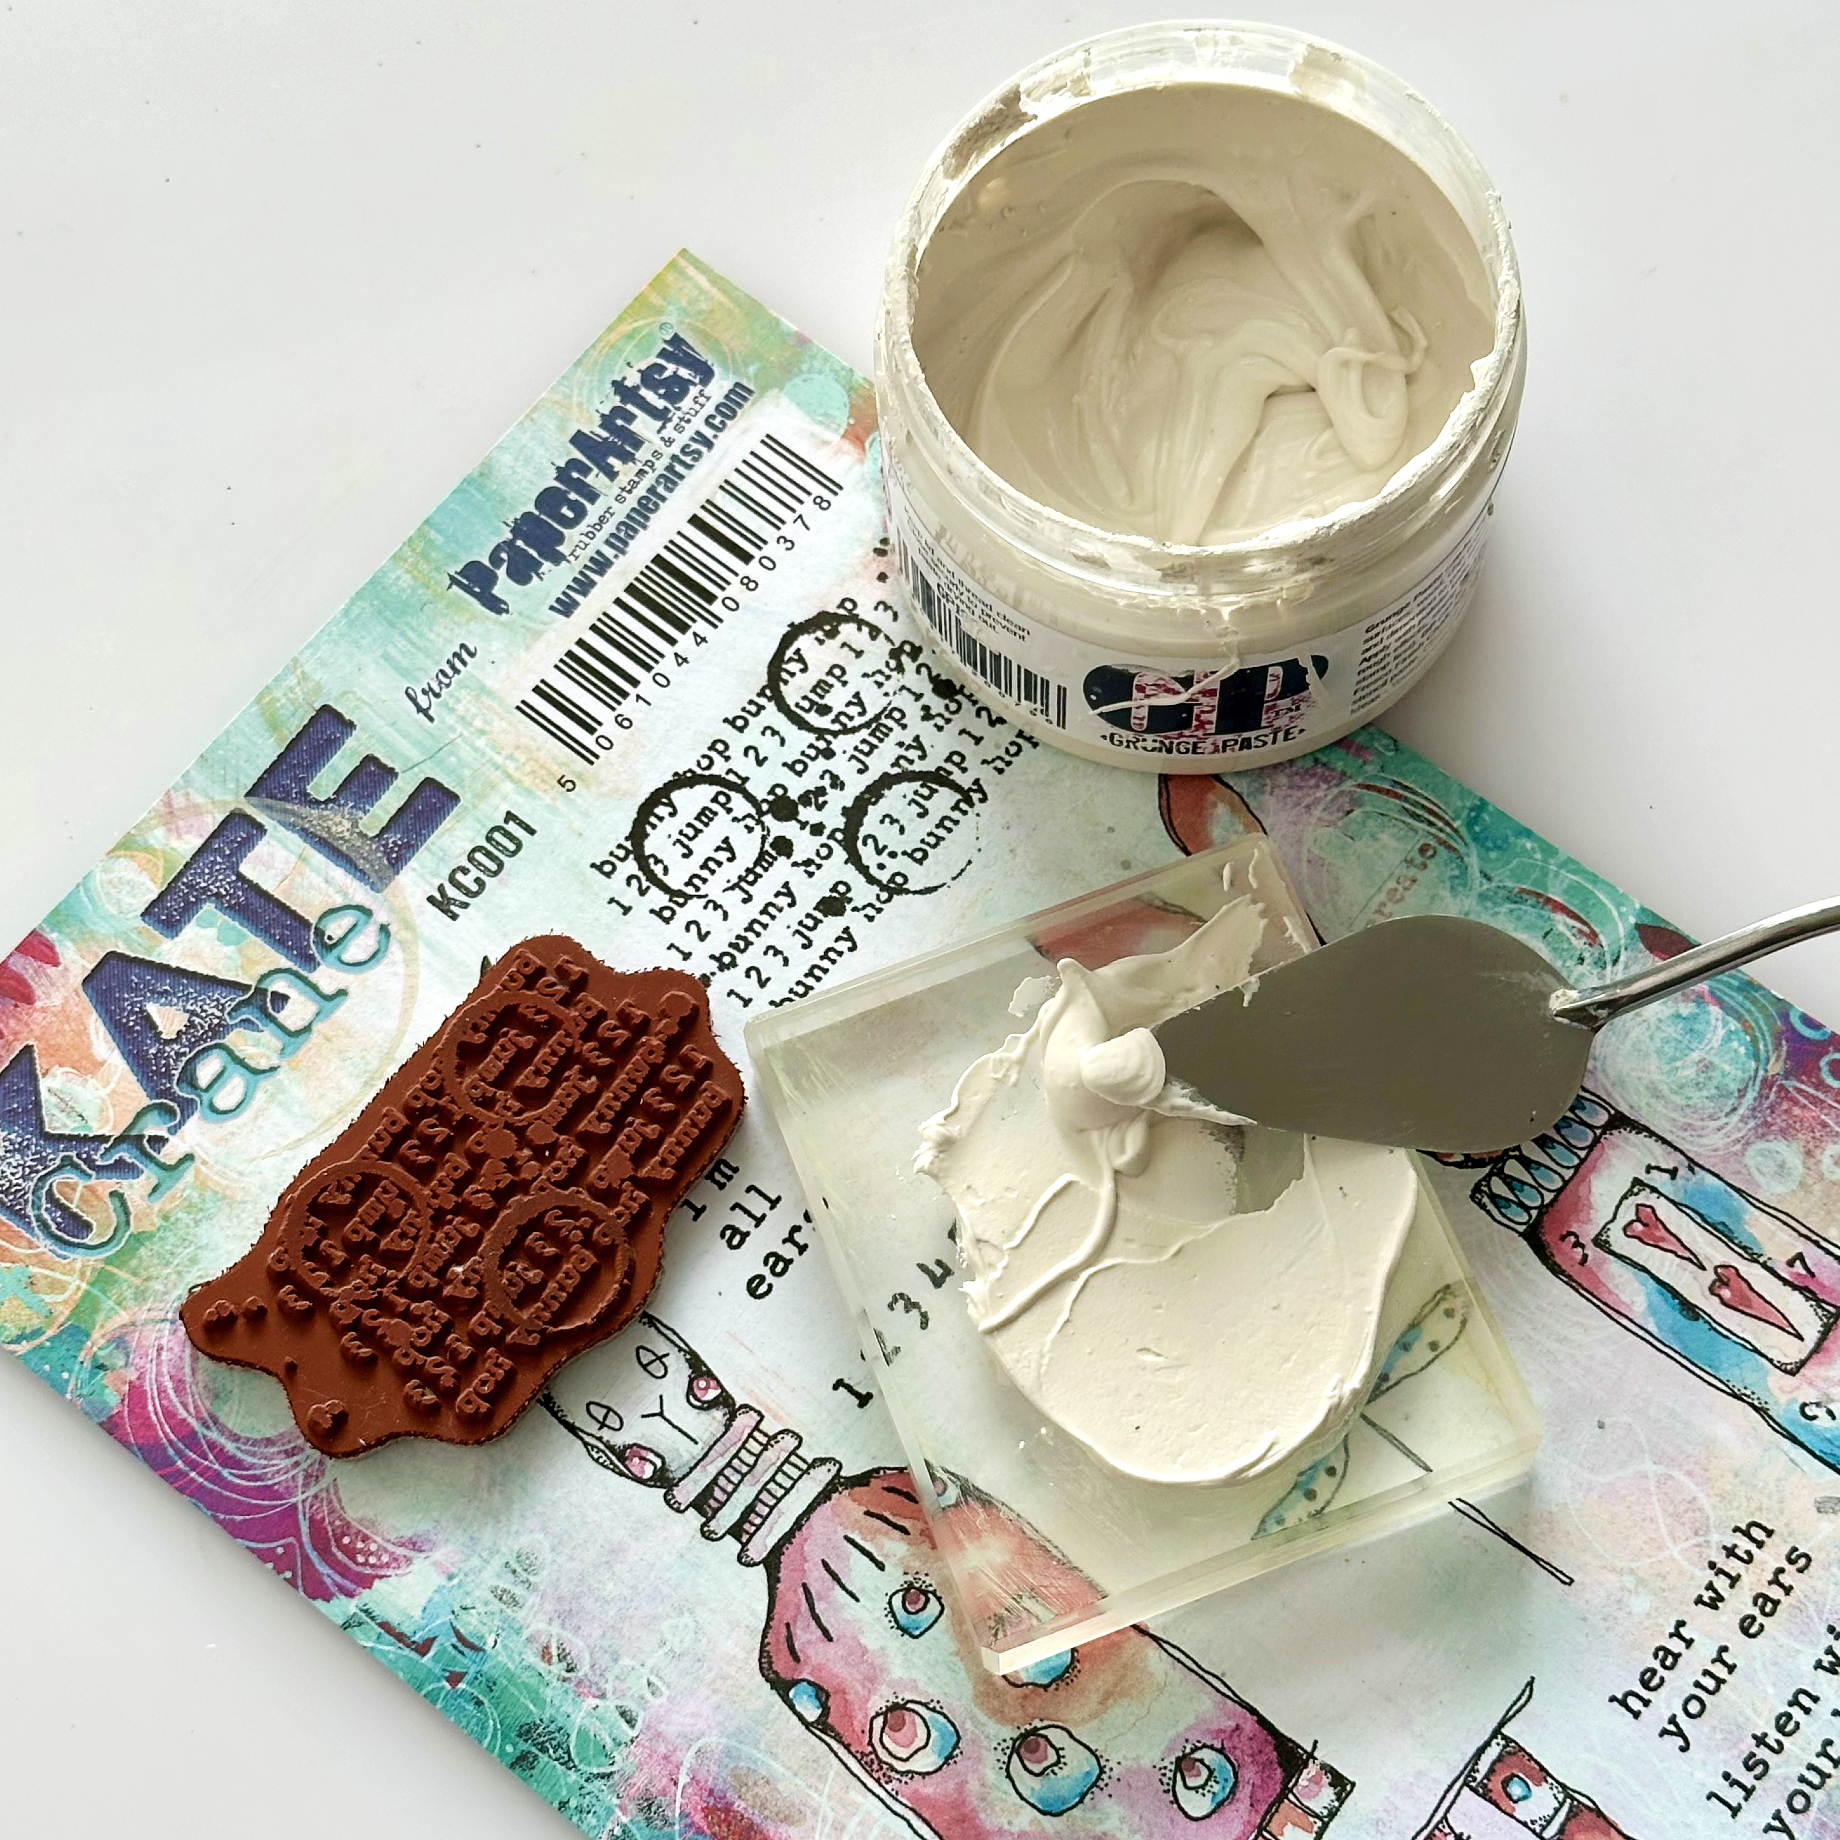
As my creative style leans towards the grungy side I added some PaperArtsy Grunge Paste (GP190) stamping to the backgrounds too. Now, ordinarily, I would apply the PaperArtsy Grunge Paste (GP190) to the substrate I'm working on and stamp into it but I knew that would mean covering up areas of colour and stencil/ stamp detail which I didn't want to do so rather than stamping into the PaperArtsy Grunge Paste (GP190) I stamped with it!


The stamp picked up some of the PaperArtsy Grunge Paste (GP190) which I then stamped brokenly and care freely on to the backgrounds.

The resulting broken grungy textural stamping made me happy! :)

(Note: if you are using stamps with PaperArtsy Grunge Paste(GP190) or PaperArtsy Fresco Finish Acrylics they need to be cleaned thoroughly immediately after use.)
With the backgrounds now finished I moved on to the elements that would embellish them.

First up were the rabbits from Kate Crane stamp set 1 (KC001).

They were stamped with Tsukineko-Versafine (Black Onyx) and painted with PaperArtsy Fresco Finish Chalk Acrylics: Bougainvillea (FF93), Limelight (FF48), Tango (FF72), Smurf (FF100), Stone (FF59).
To allow for a gradual build up of colour and to create a sense of light and shade I used the PaperArtsy Fresco Finish Chalk Acrylics with varying amounts of water dependant on their opacity. Little water was needed with PaperArtsy Fresco Finish Chalk Acrylic: Limelight (FF48) and Tango (FF72)) as they are both transparent, a little more water was required when painting with PaperArtsy Fresco Finish Chalk Acrylic :Bougainvillea (FF93) as it's semi opaque and more water needed for PaperArtsy Fresco Finish Chalk Acrylic: Smurf (FF100) and Stone (FF59) with them being opaque.


To make the flowers I have I drew around one of the circles on the stencil to form the centre of the flower.

Then I moved the petal designs on the stencil around the centre circle drawing round them as I did to form the flowers.

The flowers were 'printed' to add colour and detail.
I brayered a gel plate with one of the PaperArtsy Fresco Finish Chalk Acrylic's (in this case Bougainvillea (FF93)), stamped into the paint repeatedly with the 'wordy /circle' stamp from Kate Crane stamp set 1 (KC001), placed each of the flowers on top and then pulled the prints. Using the stamp in this way meant the words/ text were inverted but in this instance that's ok as I was only after them adding some detail and interest to the flowers.
I repeated the process with the rest of the flowers I'd stencilled and PaperArtsy Fresco Finish Chalk Acrylics: Limelight (FF48) and Tango (FF72).

Oops! Think I got a bit carried away! Not to worry, it's always good to have some 'flower' fodder' waiting on the sidelines to use for other projects, isn't it?

Now, it was after stamping /painting the rabbits and stenciling/printing the flowers that my creative eye could see the rabbit ears potentially being used as flower petals!
So, after multiple stampings of one of the rabbit's ears, painting them with PaperArtsy Fresco Finish Chalk Acrylic: Stone (FF59) and Limelight (FF48), I 'lopped' them off with some scissors (ouch!) ready to give them new life as a flower!
Time to pull the backgrounds and elements together to create the finished Art Panels. Let's start with the two art panels featuring the rabbits.

As you can see the placement of the rabbits and the other elements on the two panels were pretty much mirrored.

Raising one of the rabbits on foam pads and adhering him/her slightly lower down on the background helped give a sense he/ she was standing in front of the other.
A thin strip of card served as a grounding for the rabbit behind.

Manipulating their ears with my fingers gave them a sense of movement n floppiness!

Kate Crane stampset 1 (KC001) includes a few sentiment/ quote stamps and this one "hear with your ear's' seemed ideal for the rabbit panels.
The numbers you will notice scattered around all the panels were late additions! They were stamped with the number stamp from Kate Crane stamp set 1 (KC001) and Ranger- Archival inks.

Moving onto the stencilled flower panel.

I wanted the flower to be either one or both of the PaperArtsy Fresco Finish Chalk Acrylic colours I'd received in my 'With 3 things' parcel. After a quick audition of the flowers on the background I decided on both.
Layering one colour flower on top of the other colour flower and manipulating the petals helped give the flower more body, dimension, colour and interest.
The centre of the flower is one of the small inner flowers that formed when I stencilled the flowers. It's embellished with a grungy circle (PaperArtsy Grunge paste (FF190), PaperArtsy stencil by Kate Crane (PS430)) topped with a small black circle of chip board I found in one of my 'bits bags'.

For both this and the 'flower ears' panel (next up) a strip of black chip board makes the flower stem, while one of the bunting strips from Kate Crane stamp set 1(KC001) painted in the same colours as the flower holds the stem in place.

"Listen with your heart' was the chosen sentiment/ quote from Kate Crane stampset 1(KC001) for both the flower panels.

Now the 'flower ears' panel.

To make the flower each of the 4 pairs of rabbit ears were positioned and adhered to and around a circle base. Again the petal ears were manipulated to give them a sense of movement and shape. The inner part of the ears came together nicely to form the centre of the flower which I embellished in the same way as the stencilled flower.

All the art panels were double mounted. First onto pieces of card that I 'border stamped' with the number strip stamp from Kate Crane's stampset (KC001). I hadn't planned to do this but it was one of those times when I just saw the stamp, realised it was an ideal fit and thought it would add a touch of simple but welcome detail. Panels of black chipboard provided the final mounts and offered rigidity for displaying.
Before I wrap things up here are my with 3 things 'Hear with your Ears, Listen with your Heart' Art panels.

This is the first time I've participated in one of the PaperArtsy 'with 3 things' challenges and I really have enjoyed it. From the anticipation wondering what 3 things I might receive, to the welcome surprise on opening the parcel, to the creative messy, painty, colourful, grungy fun that ensued and led me to create the 4 art panels I have.
I hope you have enjoyed seeing/ reading all about it and that maybe something I've shared has offered you some inspiration, maybe encouraged/ tempted you to have some fun creating in your own style 'with 3 things' .....and maybe just a few more too!
Creative wishes
Amanda
x
Blog: ink-a-pink
Facebook: Amanda Pink
Instagram: p1nkart
Pinterest: PinkArt
I love all the grungy goodness you created. 💗
ReplyDeleteThanks so much for yoour kind words and for taking the time to stop by . Much appreciated :) x
DeleteAwesome work/creativity!
ReplyDeleteThanks so much Linda . Really appreciate your kind comment and you taking the time to stop by xx
ReplyDeleteLove these! Inspired by how you’ve used the products in different ways.
ReplyDeleteThis comment has been removed by the author.
DeleteThanks so much Wendy and so happy that some of creativity has inspired you . x
ReplyDelete