Hi everyone, it's (Etsuko My favorite things) with you today, and I'm here to share with you a very fun interactive project. Thank you so much Dounia for suggesting this, I got very carried away while making it.
I still remember when I was little girl and for Christmas I was given a three-dimensional picture book of 'Hansel and Gretel' and 'The little Mermaid'. I decided to create this Carousel Book based on happy memories of turning the pages of the book over and over again to enter a fantasy world. Today's Carousel book is only four pages long, so it's perfect for creating short stories with little children. Also the images I used here today are from my favorite PaperArtsy artist Gwen Lafleur who has always inspired me with her ethnic and Boho imagery.
The tribal images I chose before making the book are elements that inspire me and help me draw ideas smoothly, so I developed the images based on yellow and blue as my favorite combination, then I adopted those here.
First of all I will let you know the size of the three sheets of paper that will be used as the bace, I made them 30% off the actual size used on the YouTube video for the size of the stamps. You can see the Youtube video HERE(The Carousel Book). There you will find detailed step-by-step instructions on how to make it in the video. Step1, I made two sheets of paper each sizes A, B and C as shown below.
Fold each piece of paper like an accordion in the mountains and valleys so that there are four sections, excluding the tabs. Then cut the shaded areas as shown in the diagram and glue them together as described. The original size in the video was quite large, so he designed it in half the size and then glued it together, but my size is less obtrusive.
*Please watch the video on Youtube to see how the final product is made, including folding and gluing.
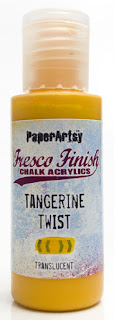
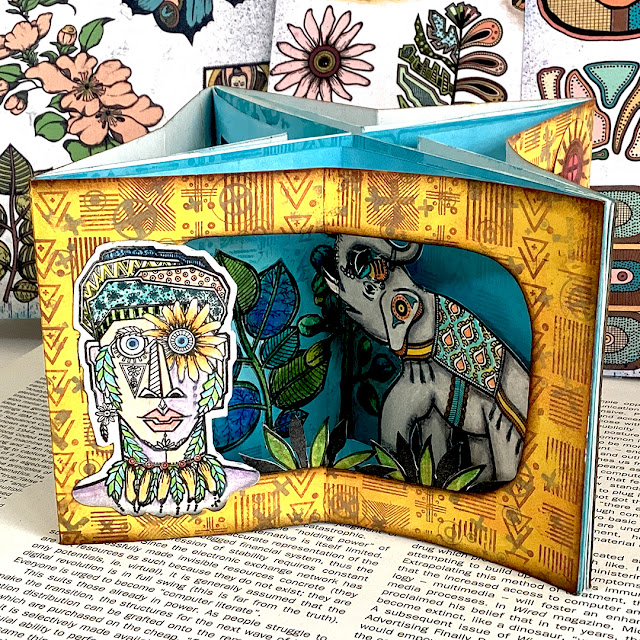
Now that I had a base for my book, I was looking forward to designing and decorating it. This is the shortest piece of A-paper in the front window and I made to go with happy colour. I thought I would use a sponge rather than jelly plate to apply with PaperArtsy Fresco Finish Chalk Acrylic- Tangerine Twist (FF92), Banana (FF91) and Persimmon (FF209) in a random order. After the paints has dried I stamped Gwen Lafleur Set 23, 06 (EGL23, EGL06) by Ranger Archival Ink Sepia and Watering Can.
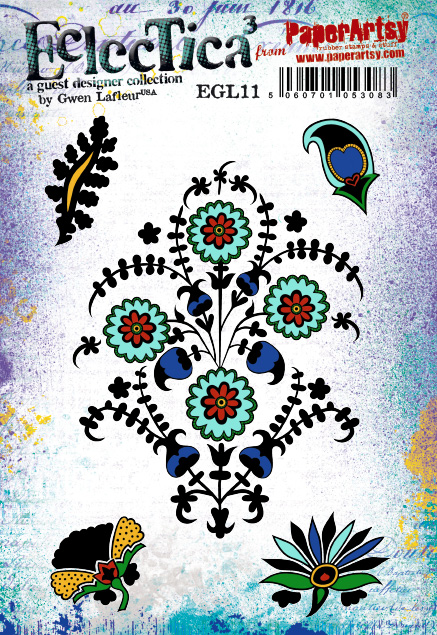
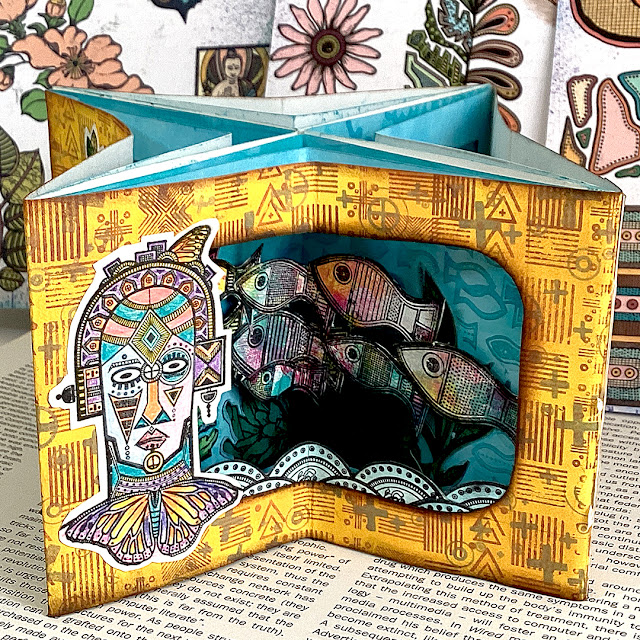
The second and third papers (B, C) were sponged with PaperArtsy Fresco Finish Chalk Acrylic- Bluw Oyster (FF99), A Bit Fishy (FF208) and Cerulean (FF200). Afterwards when It was dry, I stamped the Gwen Lafleur Set 04, 11, 23 (EGL04, EGL11, EGL23) for the scene on each page with Ranger Distress Oxide (salty ocean, peacock feathers). The B paper in the middle was decided to be the same blue as C paper after each scene and character.
The middle part of the book is closed with a nylon thread to prevent it from falling apart. The visible paper-clipped ends were later covered with small magnets. When the three pieces of paper are connected and viewed from above, they from a cross like this.
Let's take a look at each page-- for the harmony of all the animals, plants, fishes, oceans, mountains and people of the earth--I named Nature Land for the book.
I thought it would be better to have a case for this book. The case dimensions image can be found at the top of this blog, please take a look.
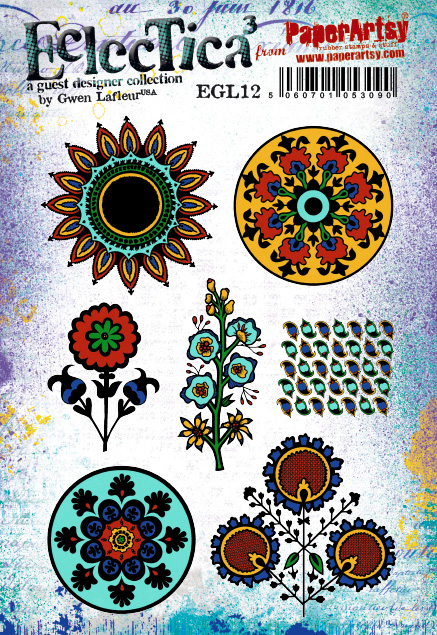
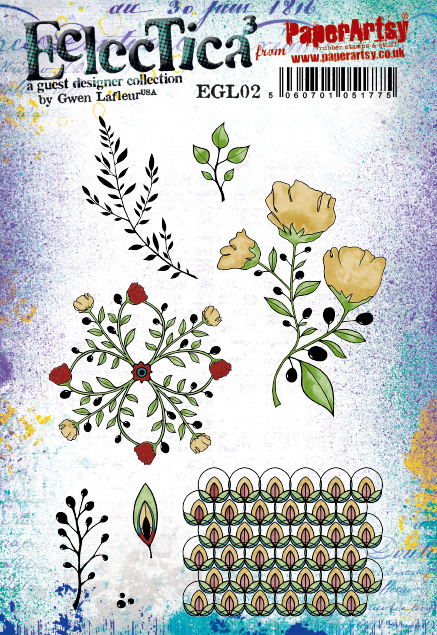
I was going to use a gel print image for the background, but I wanted it to be bit thicker, so I thought it would be better to stamp it with a few stamps using paint. Here I used Gwen Lafleur Set 02, 03, 12 (EGL02, EGL03, EGL12) pattern stamps with PaperArtsy Fresco Finish Chalk Acrylic- Jade (FF97), Gumboots (FF183), Deep Sea (FF198), Cerulean (FF200) and Southern Skies (FF95).
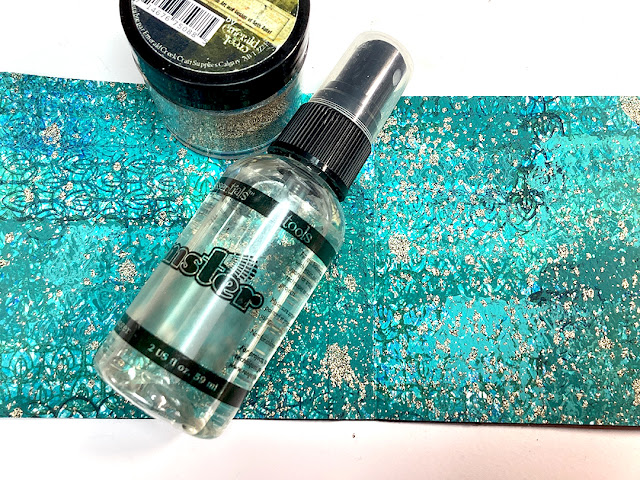
Next I made the back side, I stamped EGL02 with Ranger Distress Oxide antique linen on the black card stock then I made splatters using turquoise embossing powder. The two sheets of paper were then laminated together.
Also I made the border, using ELG03 with Ranger embossing powder liquid platinum on the vellum. The vellum is a bit thicker and the surface of the case is uneven so it was a bit difficult to apply, I used Ranger Glossy Accents for the adhesive.
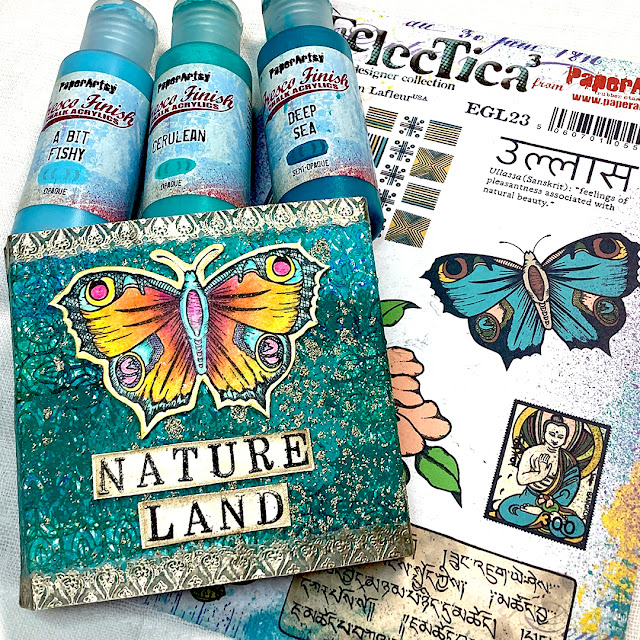
Finally, a focal point butterfly was created by EGL23, used coloured pencils, fussy cut and attached to the front using 3D foam with the words Nature Land. The last tab of the case is fitted with a magnet to close the case.
With this project I have learned how to make another fun book. I'm going to try to make more of these as they can be adapted to different sizes and with different pages. If you're interested in making one, please go ahead and make one! Thank you so much for visiting here today. I hope you enjoyed this.
Etsuko xxx
Blog: My favorite things
Facebook: Etsuko Noguchi
Instagram: Pixienest
Pinterest: Etsuko N












What a fantastic construction, Etsuko - it's enchanting.
ReplyDeleteAlison x
Etsuko you have totally inspired me with your carousel book and your amazing use of colors. I need to make one of these….
ReplyDeleteI absolutely cannot wait to make one of these! Years ago I worked very hard on a star book, but my binding skills were not up to par and sadly I was never able to see it finished. This concept seems much more simple than stitching the book together and I will have to try it! I absolutely love your colorway and designs throughout. You are brilliant and so inspiring sweet friend! Thank you for sharing. xx, Autumn
ReplyDeleteThank you so much for wonderful comments left Alison, Jill and Autumn. How your every warm word is an encouragement to me. I'm so pleased. xxx
ReplyDeleteIt's a stunning make Etsuko.
ReplyDeleteTotally love this.
Thank you so much for this great inspiration
and the tutorial.
Stay safe and have a wonderful day.